Last updated November 22, 2026
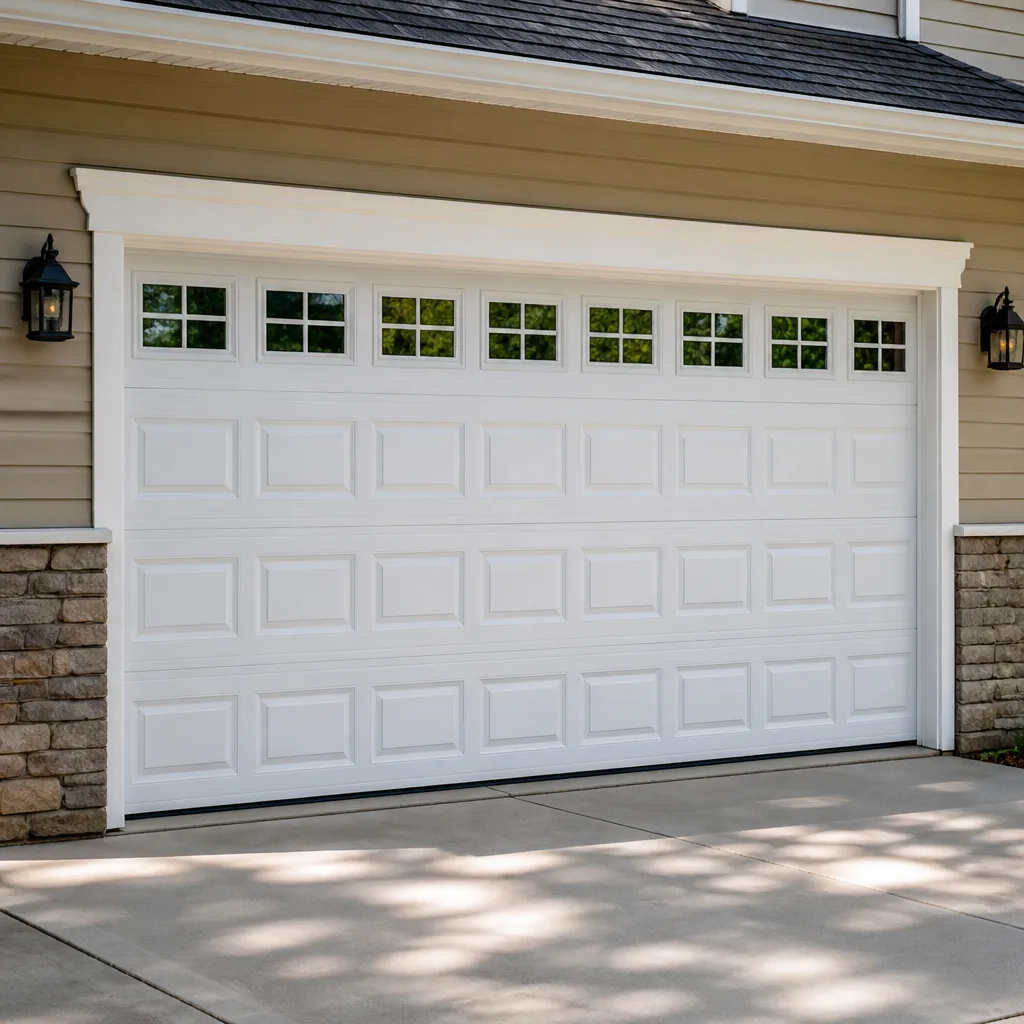 Raised-panel steel
 Carriage house
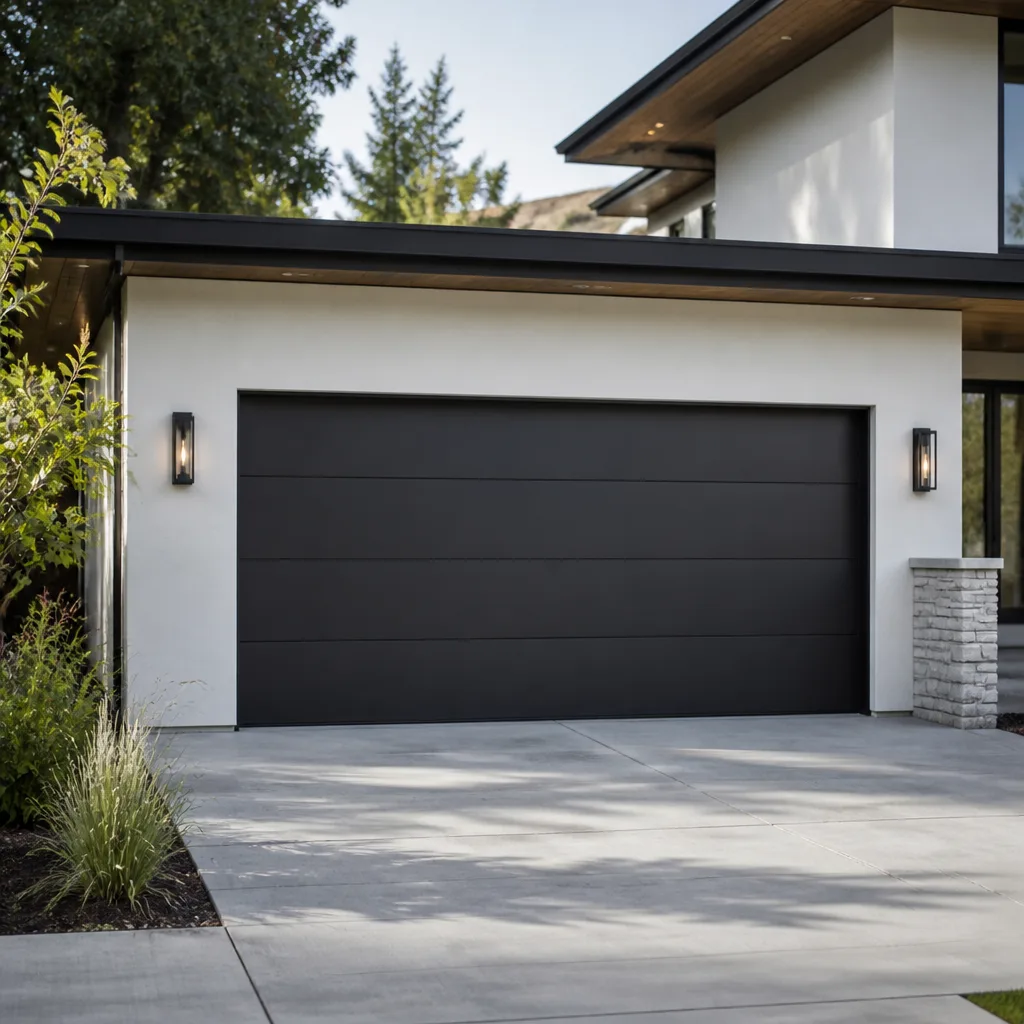 Modern flush
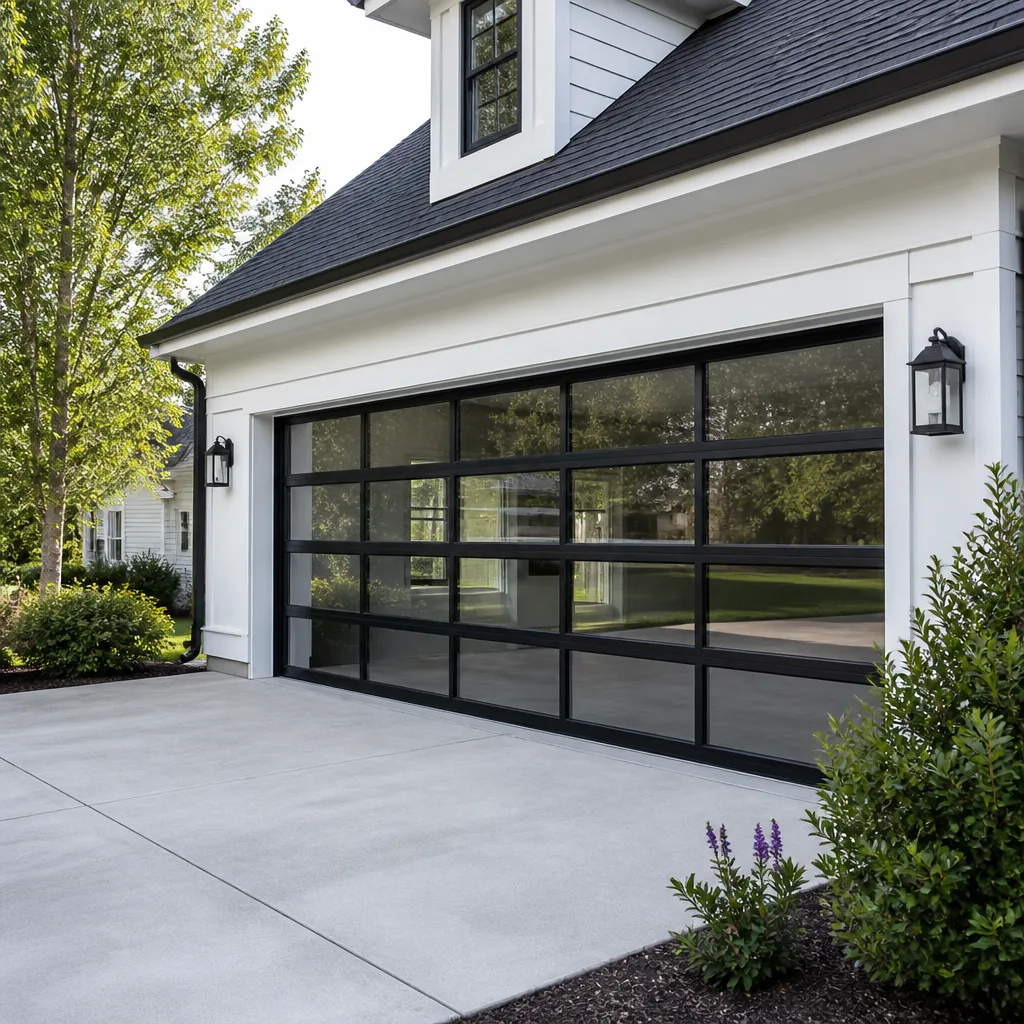 Full-view glass
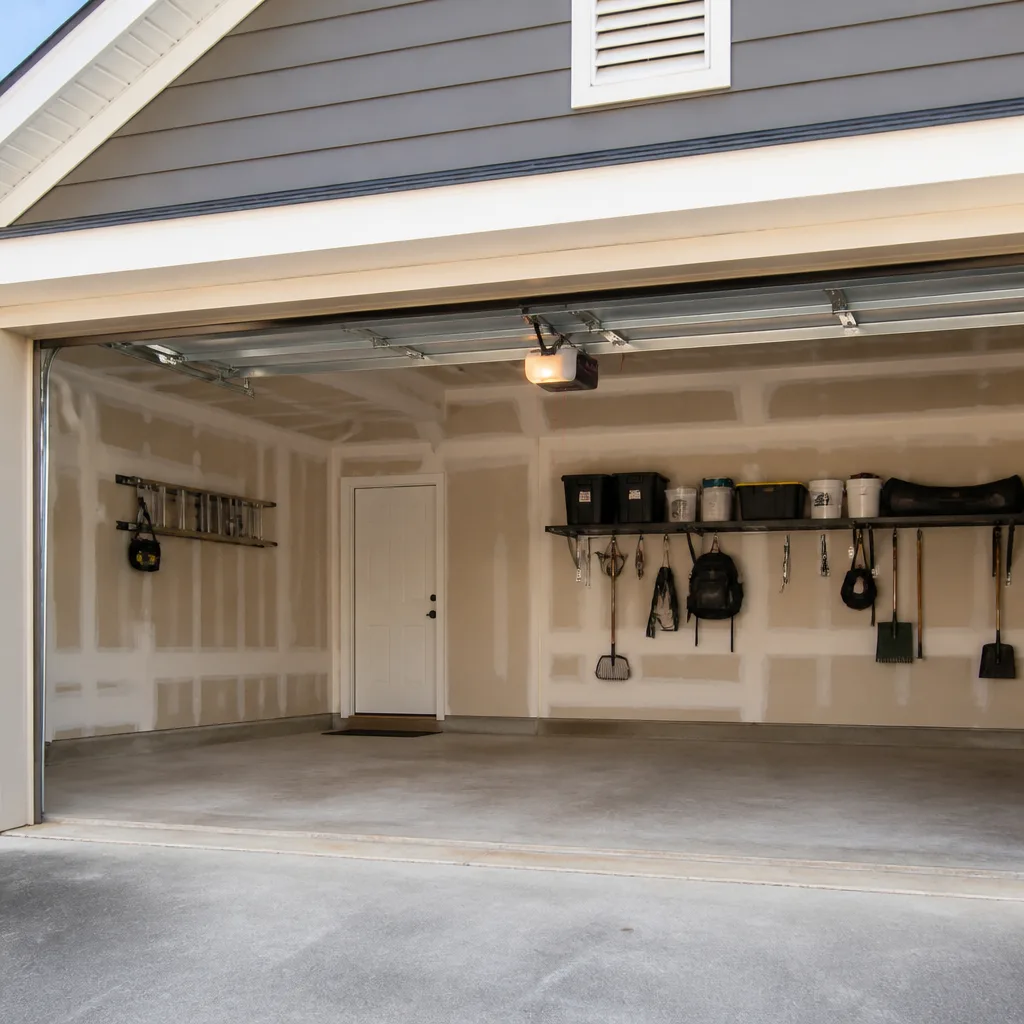 LiftMaster openers
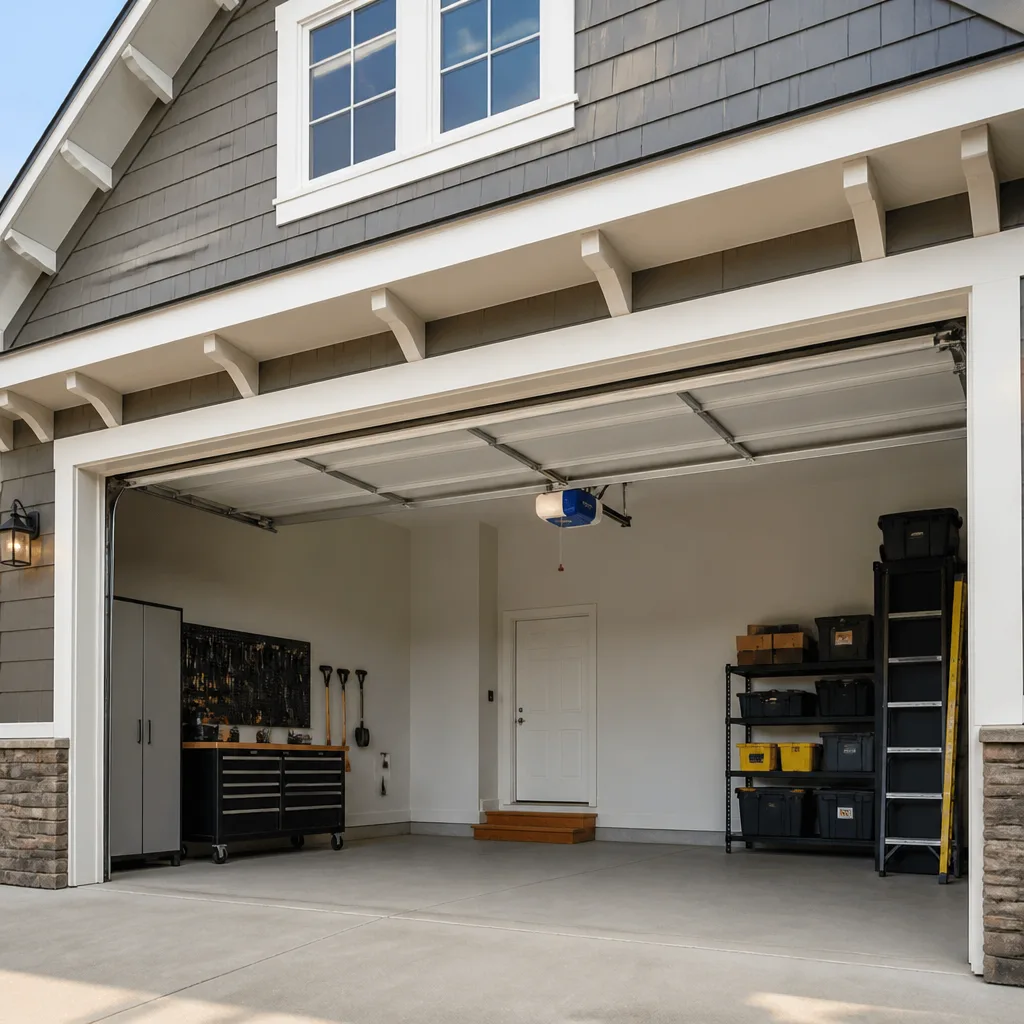 Chamberlain openers
Full 25-point door and opener safety check with every visit - springs, cables, rollers, tracks, and your LiftMaster or Chamberlain opener included
You get a price before we start. It does not change when the pro arrives.
Get your free estimateGarage Door Repair Maintenance Checklist for Centennial Homeowners
The task that causes the most avoidable emergency calls isn’t a skipped inspection. It’s a maintenance step a homeowner thought they finished correctly. Lubricating the wrong parts and over-tightening hardware that was already under stress are the two most common versions we hear about. Both make a small problem worse and both are easy to avoid once you know which components get oil, which get nothing, and which belong to a trained technician only. This guide walks through maintenance the way a technician actually moves through a door in Centennial: in sequence, part by part, so you know what to check yourself and what to leave alone.
Quick Answer
A garage door maintenance checklist should cover six things: lubrication of the right components only, a visual inspection of springs, cables and hardware, a balance test, a safety-reverse test on the opener, weatherstripping checks before Colorado’s freezes hit, and a monthly self-test that takes under two minutes. You can safely handle lubrication, visual inspection and testing yourself. Springs, cables, and any adjustment of the high-tension assembly are technician work, no exceptions.
Styles & brands we work with
- Raised-panel steel
- Carriage house
- Modern flush
- Full-view glass
- LiftMaster openers
- Chamberlain openers
Table of Contents
- The 90-Second Monthly Self-Test
- What to Visually Inspect and What to Test
- Lubrication: The Right Product for Each Component
- Component-by-Component: Springs, Cables, Rollers, Hinges, Seals
- How to Read Wear Patterns on Rollers, Hinges and Bottom Seals
- Centennial Timing: Freeze Season and Mud Season
- Testing the Opener’s Safety Reverse
- What a Technician Checks That You Can’t
The 90-Second Monthly Self-Test That Catches Most Developing Problems
One short routine, done once a month, catches the large majority of garage door problems while they’re still minor. It’s not a deep inspection. It’s a set of five checks you can do in your garage before you leave for work. What matters is doing the same sequence each time so you notice the small changes that accumulate slowly.
- Look at the springs. Stand in the center of the door and look up at the torsion spring above it, or at the extension springs along the sides on older doors. You’re looking for visible gaps in the coil, a stretched-out appearance, or any rust flaking. You are not touching them – just looking.
- Scan the cables. Run your eyes down both sides. The cables should be taut and seated inside their drums. Any fraying, kink or slack on one side is a signal to stop and call.
- Listen while the door runs. Open and close it once. Grinding, squealing, popping or a rhythm that varies from one side to the other all mean something is out of alignment.
- Check the balance. Close the door, then pull the opener’s release handle to disconnect it. Lift the door about halfway by hand and let go. A well-balanced door stays put. One that drops fast or rises on its own is under the wrong spring tension.
- Test the safety reverse. With the door open, place a piece of wood or a roll of tape flat under the door and press close. The door should stop and reverse when it meets the obstruction. If it doesn’t, the opener needs attention before anyone uses the door.
This sequence takes under two minutes. What you’re really doing is building a baseline so that when something drifts – a louder roller, a slower start – you notice it while it’s a $150 repair instead of a full emergency call. Homeowners in Centennial who get in this habit tend to catch worn rollers and loose hinges weeks before they’d cause a failure.
What to Visually Inspect and What to Test
Knowing the difference between “look at this” and “test this” is where most checklists fail. Some parts you can inspect with your eyes but shouldn’t touch. Others you can physically test. And a short final group should never be touched by anyone without training.
Look, don’t touch:
- Torsion springs above the door: check for gaps, rust or an obviously stretched coil. Do not touch, adjust or apply anything to them.
- Extension springs along the sides on older doors: same rule. These carry even more risk because they’re exposed.
- Cables and drums at the corners: look for fraying, exposed wire strands, or a cable that has jumped its drum.
- Track alignment: kneel down and sight along the track. It should look straight. Any bow is a problem.
Safe to test:
- Rollers: spin them with a fingertip. A good roller turns freely and quietly.
- Hinges: wiggle each one. A small amount of movement is fine; a lot means it’s loosening.
- Bottom seal: press it with your thumb. It should feel pliable, not cracked or brittle.
- Safety reverse: test with an object under the door.
- Balance: test with the opener released.
Never touch: torsion springs, extension springs, cables, drums, and any adjustment of the opener’s spring force or limit settings. Springs on a residential garage door hold extreme tension – a torsion spring on a standard door can carry hundreds of pounds of stored force. This is not a DIY repair, and a spring that lets go is a genuine injury risk. If your monthly look turns up a spring problem, stop and call. If you want a broader overview of the repair side of this work, our guide to garage door repair covers how each common failure gets handled.
Lubrication: The Right Product for Each Component
Lubrication is where the most self-inflicted damage happens. WD-40 on rollers is the classic mistake. Regular WD-40 is a solvent and light oil, not a lubricant built for rolling bearings – it cleans away the thicker grease already inside the roller and evaporates, leaving the bearing drier than it was. Over a few months that turns a quiet roller into a grinding one, and it collects dust while it does it. The same goes for using it on hinges or tracks.
Here’s what actually belongs on each component:
- Rollers (metal stem and bearings): a garage door or lithium-based lubricant, applied sparingly at the bearing and stem. Two or three short bursts per roller is plenty. Nylon rollers usually need no lubrication at all – check the manufacturer’s guidance on your Clopay or Clopay-style door.
- Hinges and the hinge pivot points: the same garage door lubricant, one drop at each pivot. Don’t spray the whole hinge plate; it just collects dust.
- Torsion spring coils: a light coat of garage door lubricant along the coil is fine and helps with noise. This is lubricating, not adjusting. If the spring looks stretched or has a visible gap, do not go any further.
- Cables and drums: nothing. Leave them alone. Lubricant on a cable mask fraying and attracts grit into the drum.
- Tracks: wipe with a slightly damp cloth. Do not grease or oil the tracks. The rollers are meant to roll on a clean, dry surface, and a greasy track collects grit and causes misfeeds.
- Opener rail and chain: a lightweight chain lubricant on the chain only, per your opener’s manual. Your Genie or LiftMaster manual specifies which. Belt-drive openers usually need nothing.
A quick rule: if the manufacturer calls it a bearing, grease it with the right product. If it’s a cable, a track or a fastening, leave it. That single rule prevents more garage door emergencies than any other maintenance habit.
Component-by-Component: Springs, Cables, Rollers, Hinges and Seals
Each part of a garage door asks for a different level of involvement. Working through them one at a time is how a technician actually inspects a door, and it’s the structure that makes a maintenance routine useful rather than a vague list.
Torsion springs. Above the door, one or two heavy coil springs on a steel shaft. Check them visually for fatigue, gaps and rust. Never adjust the tension. Springs are the single most dangerous component on a garage door and the reason garage door repair is a separate trade. When they fail, they fail with a bang that shakes the house – the door stays shut and the car stays trapped. Spring replacement is a core service for us, handled in-house with trained technicians. If your door won’t open at all, our guide to garage door repair in Centennial explains how spring failure gets diagnosed.
Extension springs. Common on older Centennial homes with single-piece or pre-1990s doors. These run along the sides and typically have a safety cable threaded through the center. Check that the safety cable is intact and properly attached. If the spring looks stretched to its limit, call.
Cables. Two steel cables lift the door via drums at the corners. Look for fraying, exposed strands, or slack on one side. Never loosen or attempt to tension a cable yourself. A cable under tension can whip loose.
Rollers. Ten to twelve small rollers ride in the tracks. Spin them by hand. They should turn easily and quietly. Sealed nylon rollers last longer; steel rollers with dry bearings are the ones most prone to squealing.
Hinges. Between each section. Look for cracks at the bend, loose screws and bent leaves. A hinge that has wallowed out its screw hole needs the hole filled and re-driven (a toothpick in the hole works), not a bigger screw.
Bottom seal. The rubber strip along the door’s bottom edge. In Centennial, the combination of summer sun and winter freeze creates a lot of wear here. Check that it’s pliable and makes full contact with the floor. Gaps let in cold air, snowmelt and small pests.
Weatherstripping. The side and top seals that frame the opening. Again, press with your thumb. Small tears at the corners are common after a hard winter.
Opener. The unit itself and its rail. Check for operational noise, a slow response or any change in how smoothly the door travels. Opener problems sometimes look like door problems. Our garage door opener repair guide goes into more detail on diagnosis. If the opener has simply reached the end of its life, we can quote replacement as well as garage door installation.
How to Read Wear Patterns on Rollers, Hinges and Bottom Seals
Wear patterns tell you more than the part itself does. A single bad roller is a roller. A pattern across several parts almost always points to a deeper alignment or balance issue. Reading the pattern saves you from replacing parts that will fail again because the cause was never fixed.
Rollers that wear on one side only. If multiple rollers on one side of the door show flat spots or worn edges, the door is riding out of alignment. Either the track is bowed, the hinges are worn unevenly, or the door was never properly balanced. Replacing the rollers without fixing the cause resets the clock on the same failure.
Hinges that loosen at one joint consistently. If the same hinge keeps backing out its screws, the door panel there is probably flexing due to a bent track or a failed hinge plate. Look at the door’s horizontal line when closed. Is the gap between panels even along the full width? A visible gap narrowing on one side is a display of the misalignment.
Bottom seal chewed on one corner. When the bottom seal is worn through at one corner but fine elsewhere, the door isn’t landing square. This is common after a settling foundation or a track that has shifted. Any fix has to start at the track.
Uneven roller wear front-to-back. If the first and last rollers look fine but the middle ones are worn, the door’s middle span is flexing. That can mean a hinge set has loosened or the door panels have been weakened. Worth a professional look.
Rub marks on the track. A shiny patch on the inside of the track means a roller is mis-seated. Dry, clean tracks show wear clearly, which is why we don’t recommend greasing them.
When you spot a single-part issue, replacing that part is reasonable. When you spot a pattern, don’t throw parts at it. Have a technician look at the door’s alignment, balance and track. That’s the difference between a fix and a running repair bill.
Centennial Timing: Freeze Season and Mud Season
Centennial’s climate puts particular demands on a garage door at two points each year, and neither gets enough attention.
Late fall, ahead of the freeze. Colorado’s first hard freeze arrives quickly after warm fall days, and weatherstripping that was supple in October becomes brittle overnight. A seal that cracked during the summer heat will split completely once the first freeze hits, letting cold air under the door and snowmelt into the slab. Check the bottom seal and side weatherstripping around the first week of October, before the freeze. Press each seal with your thumb; if it no longer springs back, plan to replace it. That single task prevents a lot of ice buildup at the threshold, which is uncomfortable in winter and can cause a door to bind when it’s trying to close against snow.
Spring, during mud season. Colorado’s spring melt, combined with the freeze-thaw cycle, does strange things to garage slabs and door tracks. Water that gets under the door and refreezes can shift a track a few millimeters, which is enough to make a door catch. After the melt drains off (usually mid to late spring), run the door and listen for new sounds. Look at the tracks for any inward bow. If the door has started to stick near the bottom on one side, the track or the bottom seal has shifted.
Year-round habits for a Centennial home. Check the bottom seal and weatherstripping before freeze season. Check the tracks and do a balance test after mud season. Lube hinges, rollers and the spring coil about every six months. Do the 90-second monthly self-test year-round. If you’re not sure of the brand of your door – common on homes that were purchased with a Clopay or Amarr door already installed – we can identify it on-site and work from the manufacturer’s specs.
Testing the Opener’s Safety Reverse
The safety reverse test is the one non-negotiable monthly check. If it fails and nobody catches it, a child or pet under a closing door is the real risk. It takes about thirty seconds.
- Open the door fully with the opener.
- Place a flat object on the ground in the door’s path – a piece of wood, a rolled-up towel, or a 2×4 laid flat.
- Press the close button.
- Watch the door. It should contact the object and immediately reverse back to open.
- If it doesn’t reverse, or stops without reversing, stop using the opener until it’s fixed.
Two other things to test periodically. The photoelectric eyes at the base of the door should be clean of dust and spiderwebs; a blocked eye won’t reverse the door properly because it never sees what’s in the way. And the opener’s force setting should not be adjusted to “make the door close” when it starts behaving oddly. That setting is a safety limit. If the door stops reversing because the trigger force is too high, the fix is diagnosing the cause, not turning the force up. On Genie and Chamberlain openers the exact procedure is in the manual, and changing the force setting without understanding it can disable the safety reverse.
What a Technician Checks That You Can’t
A monthly self-test catches most developing problems, but a professional inspection covers things you won’t see from the driveway. This is the difference between maintenance and an inspection. Our technicians have up to 15 years of experience, and the sequence they run through is longer than the homeowner version.
- Spring tension and cycle count. A technician can judge a spring’s remaining life by its apparent winding and the door’s weight. A homeowner can only see obvious failure.
- Cable tension on both sides. Reading cable tension requires being comfortable working the drums. A slight imbalance is invisible without it.
- Track straightness measured against the door plane. Sighting is useful; measuring is accurate. A technician checks the corners with a level.
- Panel alignment and hinge load. A technician can tell whether a hinge is failing because of load distribution, which is a balance problem, versus simple wear.
- Opener force settings and travel limits. Checked with a gauge, not by turning up the power.
- Roller bearing condition under load. A free-spinning roller is not the same as a roller that spins freely while carrying the door’s weight.
- Anchor and fastening integrity. Bolt torque at the door jamb and spring plate is something almost no homeowner checks and something every technician does.
Most doors in Centennial we look at don’t need any of this work every visit. An annual inspection with the seasonal adjustments in the sections above is normally enough.
Common Mistakes to Avoid
- Spraying WD-40 on the rollers or tracks. It dissolves existing grease, attracts dust and leaves the rollers dry after a few weeks. Use garage door lubricant for rollers, hinges and spring coils, and leave the tracks clean and dry.
- Over-tightening hinge screws that were already under load. A hinge that’s been stressed by a misalignment will crack its plate if the screws are forced. Fix the alignment first, then re-seat the hinge.
- Adjusting the opener’s force setting to make a sticking door close. That setting is a safety limit. A door that needs more force than usual has a mechanical problem that force can’t fix.
- Using the door after the balance test shows it drifting. A door that drops or rises on its own is showing spring failure in progress. Run it a few more times and you’ll convert a repair call into an emergency call.
- Skipping weatherstripping checks until after the first freeze. In Centennial, by the time you notice cold air coming under the door, the seal has already split. Check seals in early October, not after the freeze.
- Assuming a slow-opening door is an opener problem. Often it’s a worn roller or a door out of alignment. Diagnosing the opener first is how a door problem gets replaced with a new opener and still doesn’t run smoothly.
- Running the door with a broken or frayed cable. It’s tempting to keep using it until the repair appointment. Don’t. A cable with exposed strands can snap fully under load, and that’s a hardware failure that can move the door unevenly.
See the difference
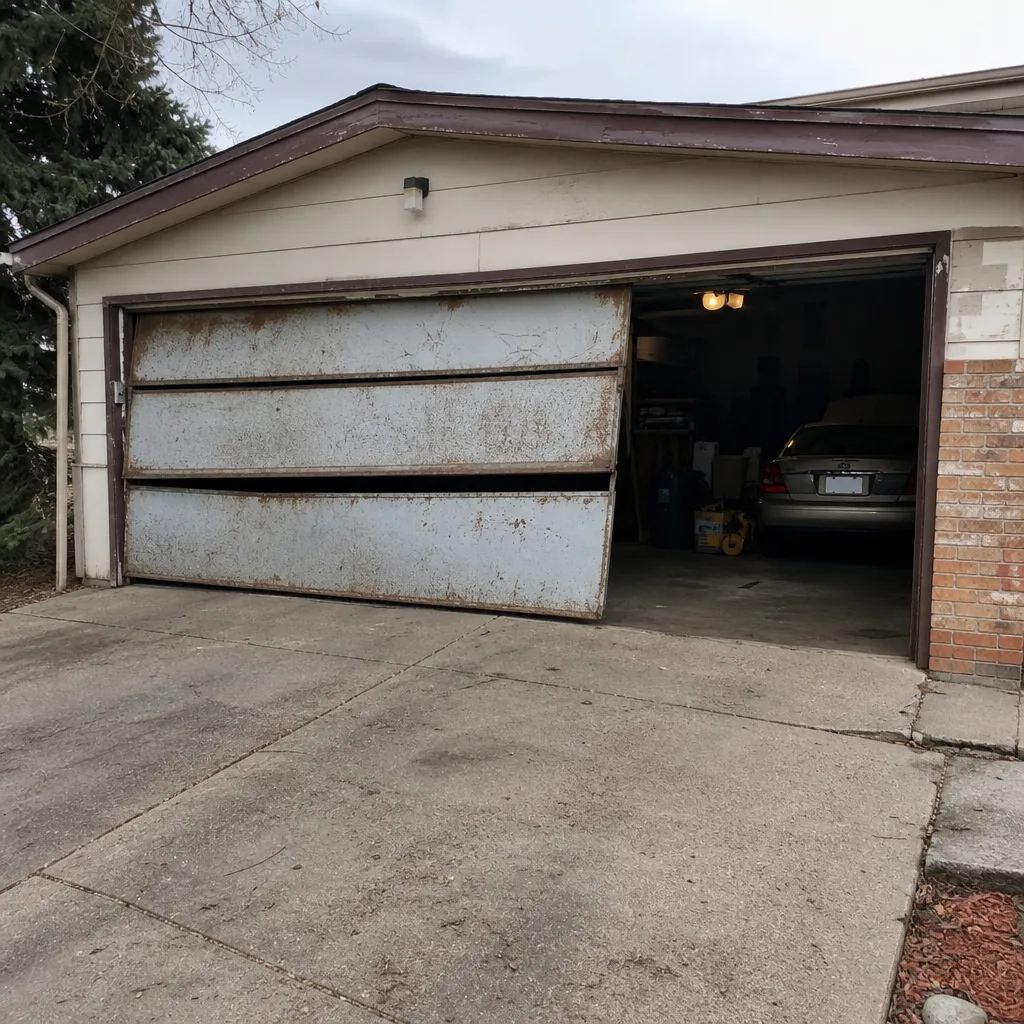 Before
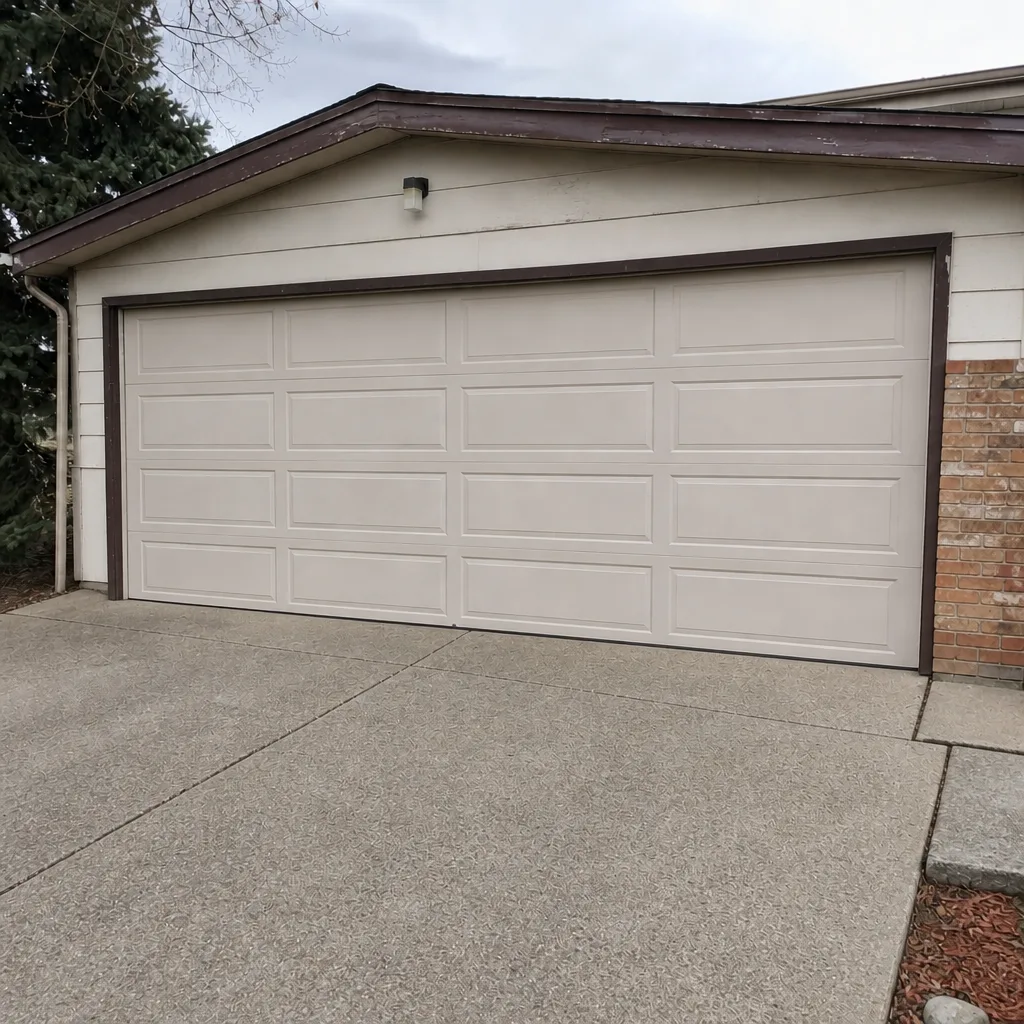 After
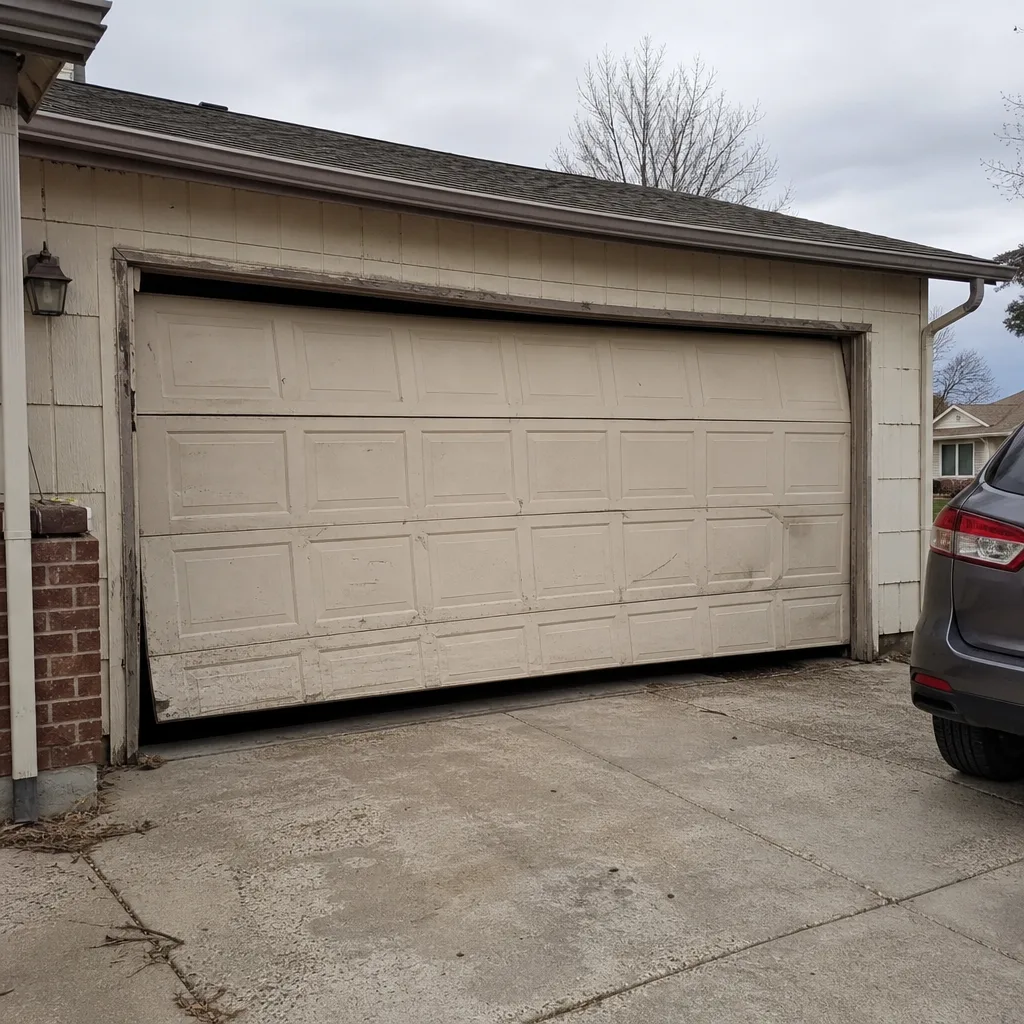 Before
 After
 Before
 After
When to Call a Professional
A professional call is warranted whenever the problem involves the springs, the cables, the opener’s safety settings, or any pattern of wear that suggests the door is out of alignment or balance. That covers a door that won’t open at all, a loud bang followed by a door that stays shut (that’s a broken spring), a cable that shows fraying or exposed strands, a door that reverses on its own, and an opener that’s triggering the safety reverse too easily. A rolling noise that gets louder over a few weeks is also worth a call for diagnosis, even if the door still works.
Garage Door Repair Centennial Pros offers free estimates in Centennial – call (844) 575-1130. Our technicians have up to 15 years of experience and work on both sides of the system, so you don’t need a separate contractor for the door and the opener. We can even take a look at the brand already in your garage – Clopay, Amarr, Wayne Dalton, Genie or others – and work from the manufacturer’s spec.
Frequently Asked Questions
Do the 90-second self-test monthly, and do a fuller check of the weatherstripping and tracks twice a year – before the first freeze in early October and after spring mud season. A professional inspection about once a year, or any time you notice a pattern of wear, is enough for most homes. Regular small checks catch the majority of developing problems before they become emergency calls.
No. Torsion and extension springs are under extreme stored tension, and a spring that lets go during handling can cause serious injury. This is not a DIY repair. We handle spring replacement in-house with trained technicians, and we recommend calling before touching a spring that looks stretched or has stopped holding the door.
Usually because the product was WD-40 or a spray oil rather than a proper garage door lubricant. WD-40 is a solvent, not a rolling-bearing grease, and it strips the existing grease off the rollers and hinges, leaving them dry once it evaporates. Wipe the affected parts clean and apply a proper lithium-based or garage door lubricant at the moving points only. If a roller is actually worn, no amount of lubricant will quiet it – it needs replacing.
Some added resistance in cold weather is normal, since grease thickens and rubber seals harden. But if the door slows noticeably as temperatures drop, or the opener struggles to lift it, that points to a failing spring, worn rollers or a door that’s out of balance. A balance test in the fall (door halfway up after the opener is released; it should stay) will tell you which it is.
Sometimes. A door damaged by a covered event – a car strike, storm damage, vandalism – often falls under homeowner’s coverage. Routine wear and tear is normally not covered. Check your own policy and talk to your insurer to find out what applies to your situation.
Most likely, yes. We’re factory-familiar with eight major brands – LiftMaster, Chamberlain, Genie, Clopay, Amarr, Wayne Dalton, Craftsman and Raynor – and diagnose brand-specific quirks rather than treating every door as generic. If you’re not sure which brand you have, we can identify it on-site and work from the manufacturer’s specs. Call (844) 575-1130 with the door or opener model and we’ll tell you up front what we’re looking at.
The Bottom Line
Garage door maintenance is a series of small, specific checks done in a sensible order. The monthly self-test catches most developing problems so they’re cheap to fix. The right lubricant on the right components – never WD-40 on rollers, never grease on tracks – prevents most self-inflicted issues. Seasonal timing for Centennial’s freeze and mud cycles covers the two periods of the year where weather does the most work. Anything involving springs, cables, or a pattern of wear that suggests misalignment gets a technician. That routine protects the door, the opener, and everyone using them.
If you’re in Centennial and want a professional inspection or a repair quote, Garage Door Repair Centennial Pros can help. Call (844) 575-1130 for a free estimate, and we’ll walk through the door and opener together so you know exactly what’s needed.
Written by the team at Garage Door Repair Centennial Pros.