Last updated November 22, 2026
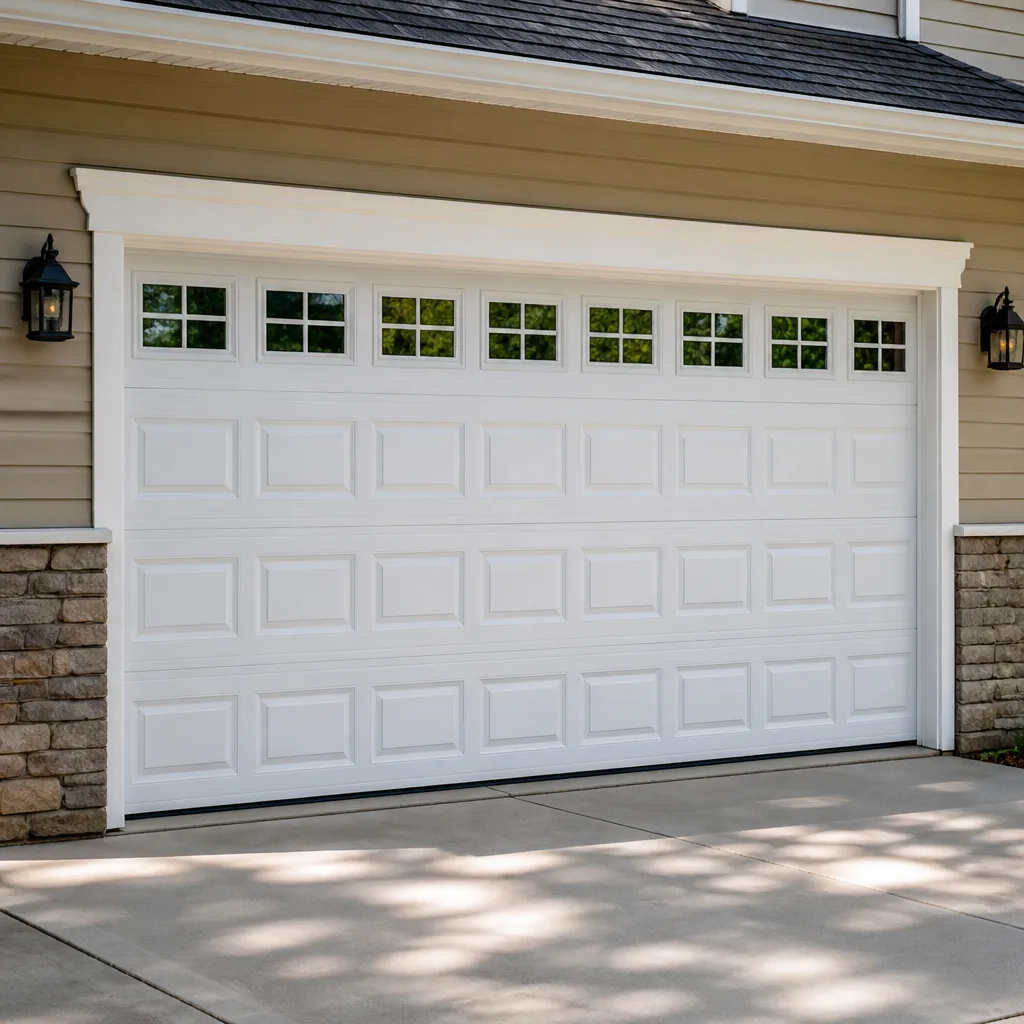 Raised-panel steel
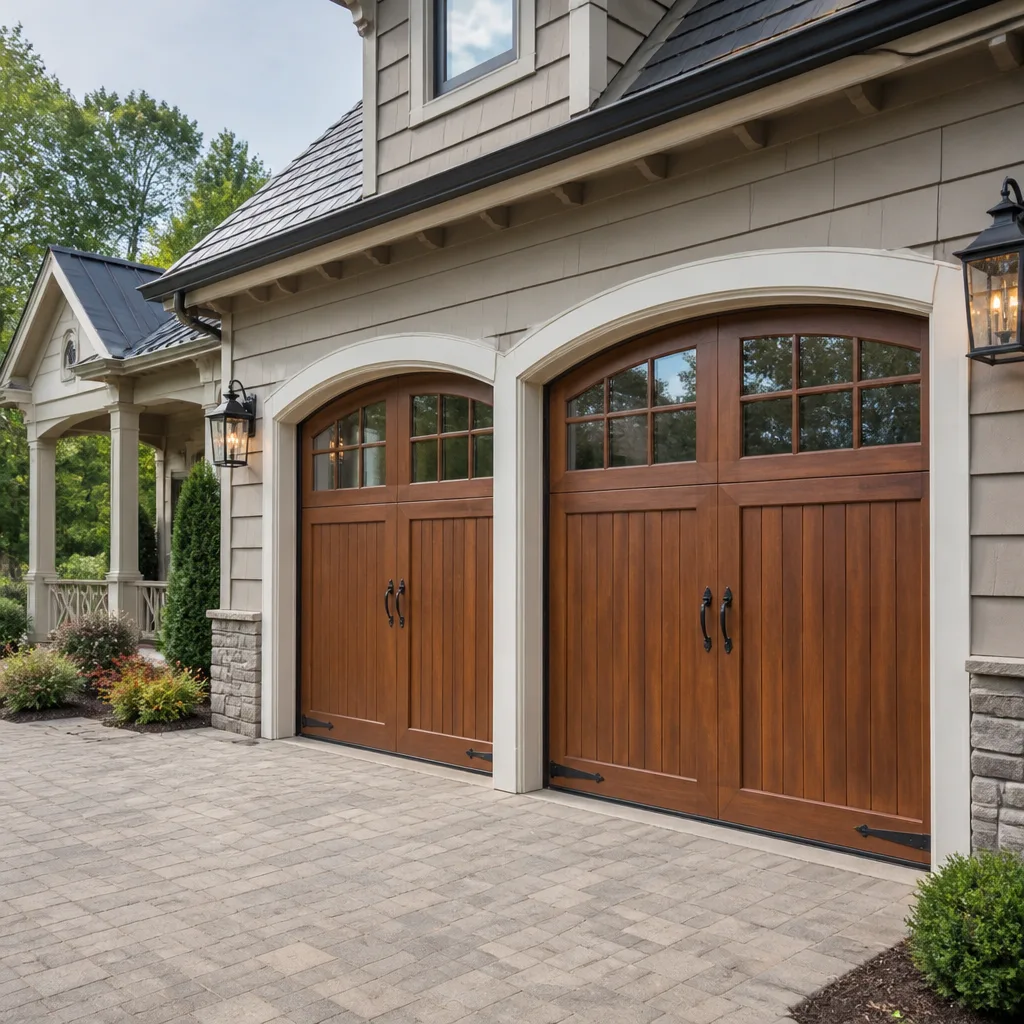 Carriage house
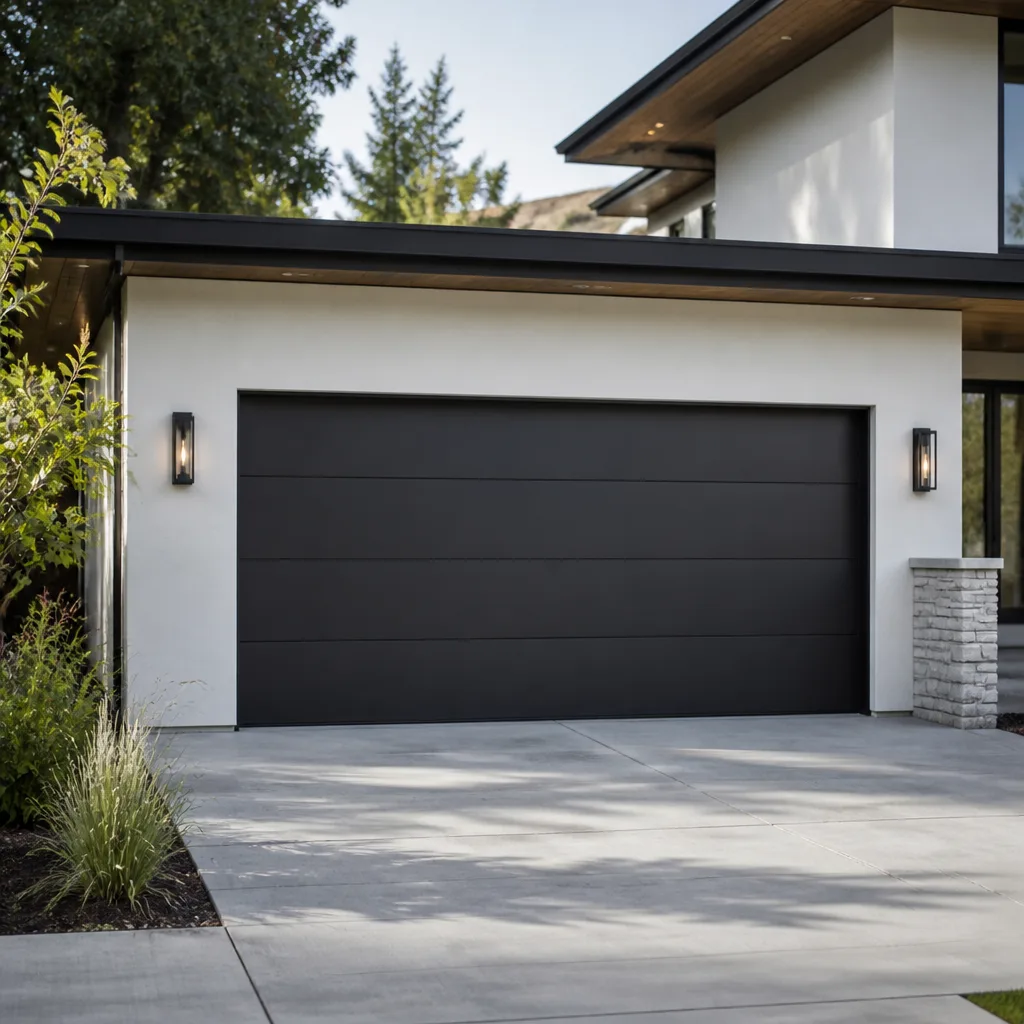 Modern flush
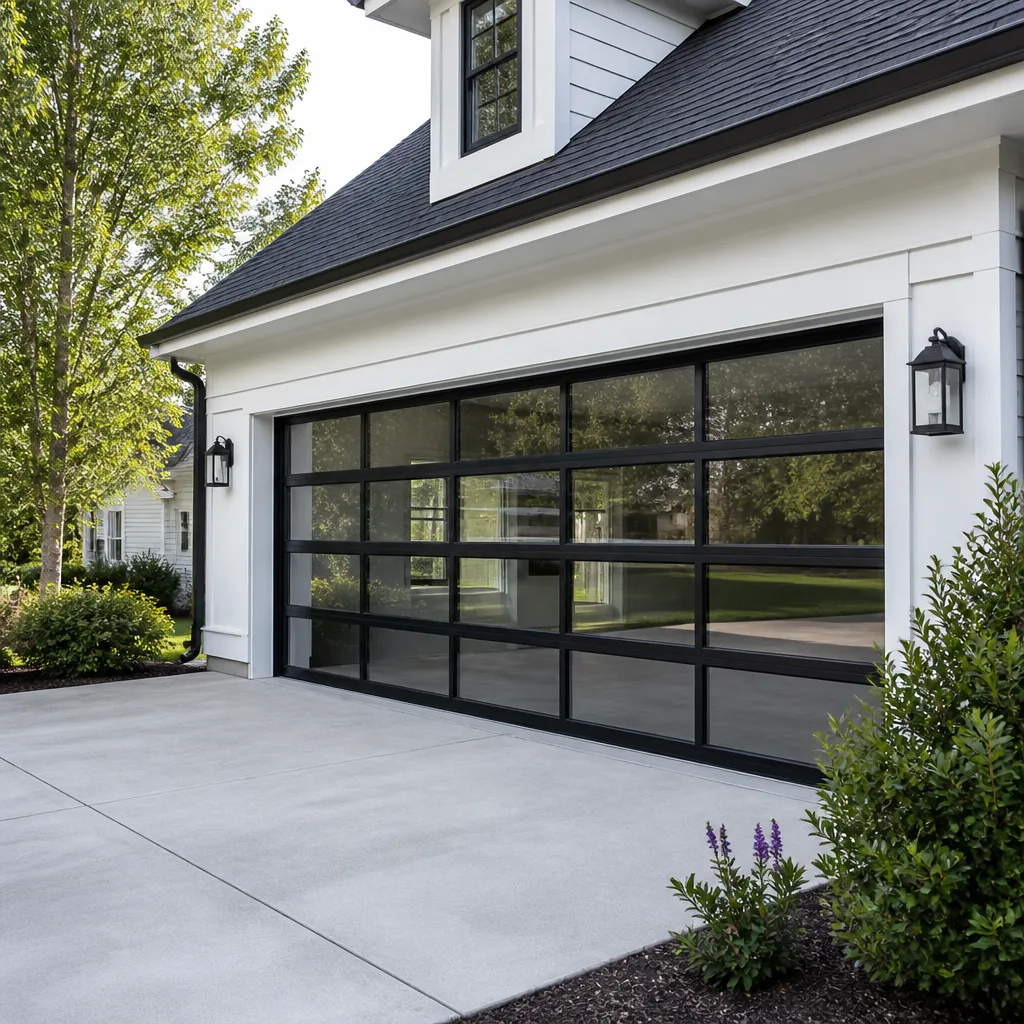 Full-view glass
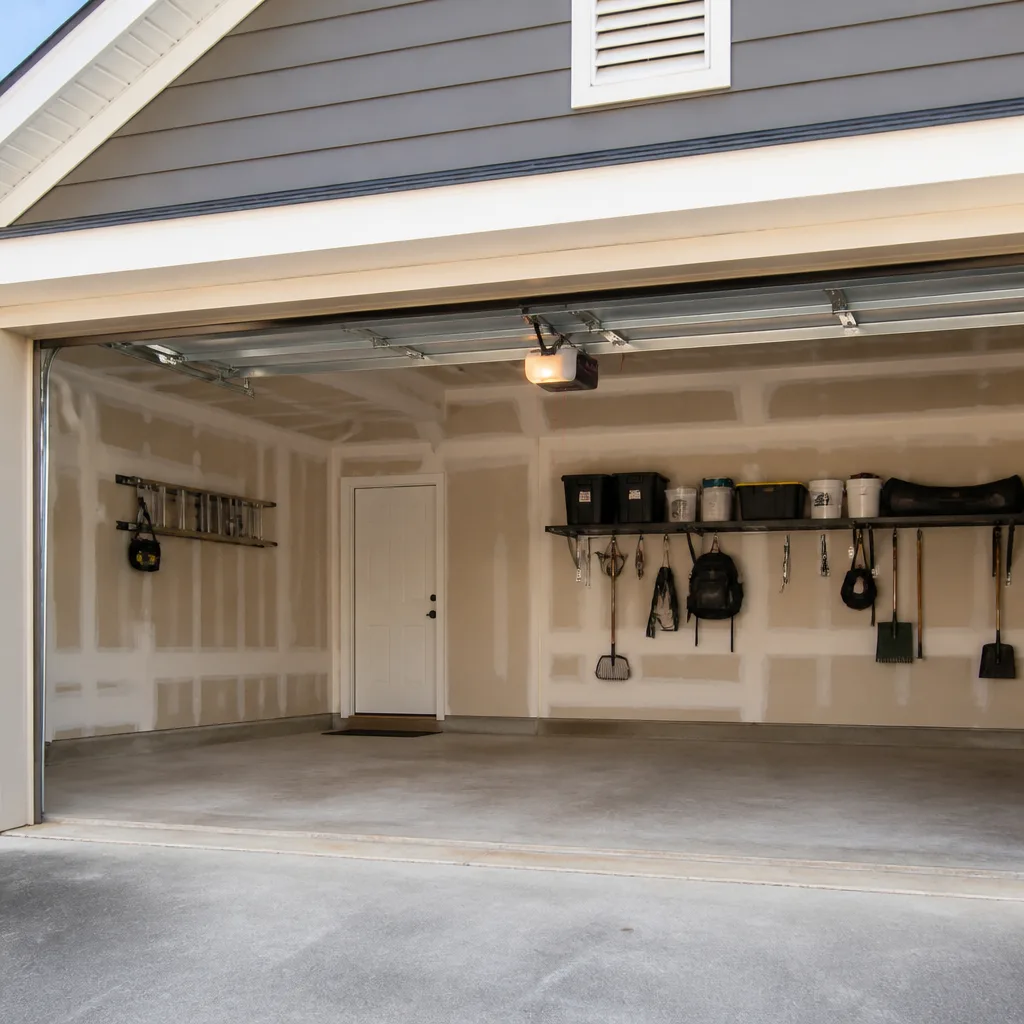 LiftMaster openers
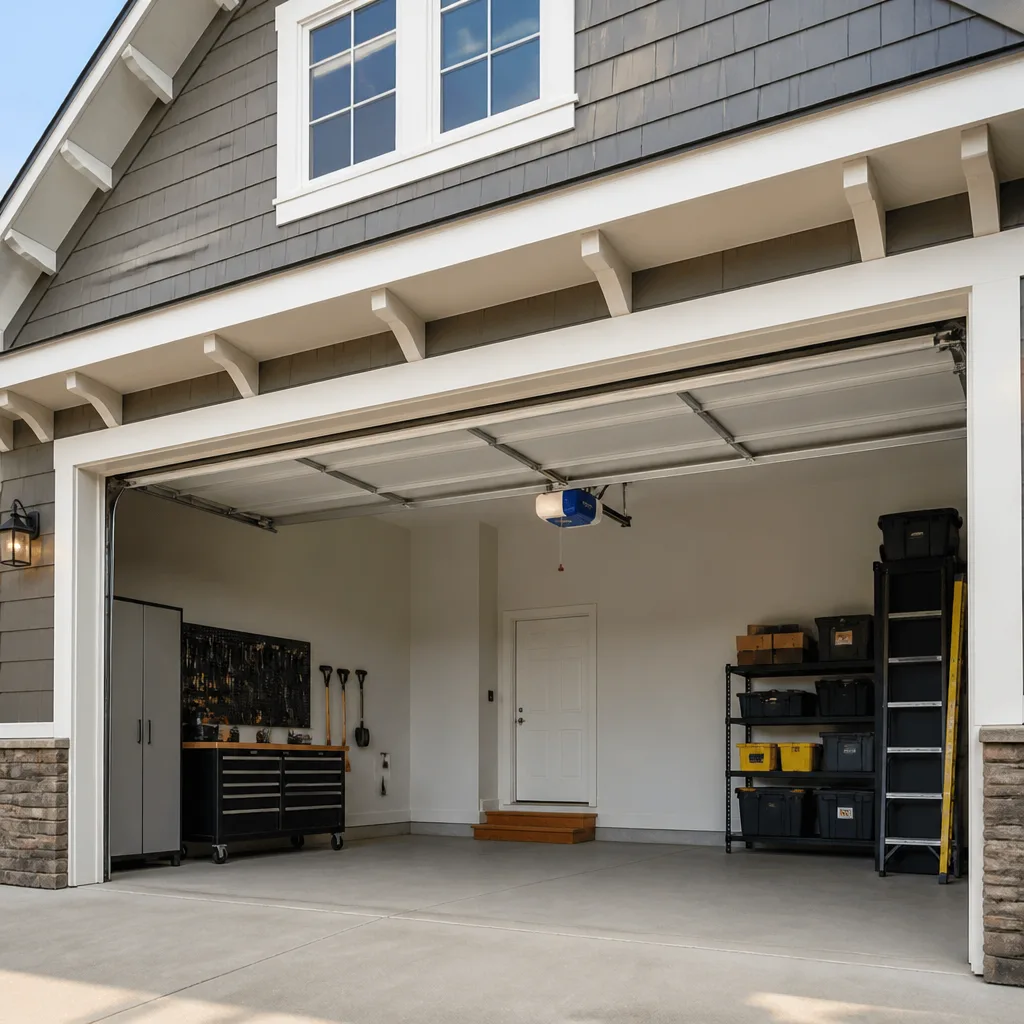 Chamberlain openers
Full 25-point door and opener safety check with every visit - springs, cables, rollers, tracks, and your LiftMaster or Chamberlain opener included
You get a price before we start. It does not change when the pro arrives.
Get your free estimateGarage Door Repair Troubleshooting in Centennial: Common Problems and How to Fix Them
A garage door that “won’t open” is not one problem. It’s at least nine distinct failure points wearing the same costume. A photo-eye knocked crooked by a recycling bin looks identical to a snapped torsion spring from inside the house: you press the remote, nothing useful happens, and the car stays parked. Treat every failure as the same mystery and you’ll do what most homeowners do: press the button harder, then call whoever answers first. The reality is that the fix for a misaligned safety sensor takes two minutes and no tools, while the fix for a broken spring involves stored energy that can injure you badly. This guide is a decision tree, not a symptom list. By the end you’ll know which of six failure categories you’re in, which four resets you can try safely, and how to describe the problem so a technician arrives with the right parts. Centennial homes deal with a few local quirks of their own, and we’ll get to those.
Quick Answer
Most garage door failures in Centennial fall into one of six categories: operator and remote issues, safety sensor misalignment, track and roller problems, torsion spring or cable failure, panel and hardware damage, or power and logic board faults. You can safely check the first two yourself, and often the sixth. Anything involving torsion springs, cables, or a door hanging crooked is a stop-and-call situation. If you’re unsure which category you’re in, describe the exact symptom when you call (844) 575-1130 and we’ll tell you whether it’s a self-fix or a service visit.
Styles & brands we work with
- Raised-panel steel
- Carriage house
- Modern flush
- Full-view glass
- LiftMaster openers
- Chamberlain openers
Table of Contents
- Why “Won’t Open” Is Really Nine Different Problems
- The Symptom-to-Cause Decision Tree
- The Four Resets and Adjustments to Try Before You Call
- How Centennial’s Temperature Swings and Altitude Create False Symptoms
- Springs and Cables: The Line You Don’t Cross
- Brand-Specific Quirks: What Your Opener Is Trying to Tell You
- How to Describe the Problem So the Right Parts Arrive
- When to Call a Professional
Why “Won’t Open” Is Really Nine Different Problems
When a door refuses to move, the symptom is almost always the same: press the remote, get a click or a light flicker or a partial lift, and then nothing. But the cause could be any of the following, and each one demands a completely different response:
- Dead remote battery – the wall button still works, the remote doesn’t.
- Safety sensor misalignment or obstruction – the door lifts an inch or two, then reverses.
- Broken torsion spring – you hear a loud bang and the door becomes too heavy to lift by hand.
- Snapped or slack cable – the door hangs unevenly or the cable is visibly off its drum.
- Bent track or popped roller – the door binds partway up, sometimes with a grinding sound.
- Opener logic board or capacitor failure – the motor hums but doesn’t turn, or the unit is dead entirely.
- Stripped drive gear or broken belt/chain – the motor runs but the door doesn’t move.
- Limit switch or travel setting out of adjustment – the door stops short or reverses at an odd height.
- Panel or hinge damage – the door operates but binds, sags, or won’t close flush.
Here’s why this matters. A homeowner who assumes every failure is an opener problem will spend money on a new opener when the actual culprit is a broken spring. A homeowner who assumes every failure is mechanical might keep forcing a door that only needs its safety sensors wiped clean. In our experience across Centennial, the most expensive outcomes come from misdiagnosis, not from the repair itself. Getting the category right first is the entire game.
The Symptom-to-Cause Decision Tree
Work through this in order. It’s designed so the cheap, safe checks come first and the expensive, dangerous ones come last.
- The wall button works but the remote doesn’t. Replace the remote battery, then re-pair the remote to the opener. If you have a LiftMaster or Chamberlain unit, the pairing button is usually on the motor housing. Solved.
- The door lifts one or two inches and reverses. This is almost always the safety sensors. Look at the two small lenses near the floor on each side of the opening. Are they lit? Are they pointed at each other? Is anything (a broom, a bag, a shovel) between them? Clean the lenses and straighten them. If you get a solid indicator light on both, try again.
- You hear a loud bang from the garage and the door won’t lift. That’s a torsion spring failure. Stop here. Do not force the door. Go to the springs section below.
- The door hangs crooked or one side sags. That’s a cable problem. Stop. Call.
- The motor hums or clicks but the door doesn’t move. Likely a stripped gear, a broken belt or chain, or a failed capacitor. This is an opener repair – see our guide to garage door opener repair.
- The door grinds, binds, or scrapes partway up. Look at the tracks: are they visibly bent or kinked? Is a roller out of its channel? Don’t force it. Track work is a professional job.
- Nothing happens at all, button or remote. Check the breaker for the garage circuit and the outlet the opener plugs into. If power is fine, suspect the logic board.
- The door closes and immediately reopens. This is a travel-limit or force-setting issue, or a sensor that’s aligned but dirty. Try the resets below.
- The door is fine but one or more panels are dented, cracked, or separating. This is a panel and hardware repair, not a system failure. It can wait for a scheduled visit.
The Four Resets and Adjustments to Try Before You Call
Roughly a fifth of the calls that come in to any garage door company turn out to be something a homeowner could have solved in ten minutes. Here are the four things worth trying before you pick up the phone. None of them require tools, and none put you in contact with spring tension.
1. The safety sensor reset
Locate the two sensors at the base of the door tracks. Wipe both lenses with a dry cloth. Straighten them so the small LED on each one glows steady (a blinking LED usually means the beam isn’t received). Clear anything within a few inches of the path. Press the wall button once and watch.
2. The force and travel limit reset
Most openers made in the last fifteen years have a “learn” or “set” button on the motor housing. Most require you to press it and then run the door through a full open and close cycle so the opener re-learns its travel endpoints. The exact sequence varies by brand, so check the sticker on the opener or the manual for your Genie or Chamberlain model before you press anything.
3. The manual release and re-engage
There’s a red pull cord hanging from the opener carriage. Pulling it disengages the door from the opener and lets you lift it by hand. Never do this unless the door is fully closed and the springs are intact – a door with a broken spring is dangerously heavy. If the springs are fine and the door lifts by hand with reasonable resistance, re-engage the carriage and try the opener again.
4. The power cycle
Unplug the opener from the ceiling outlet, wait 30 seconds, and plug it back in. This clears the logic board and resets error states. It sounds like a joke. It resolves more stuck-in-error openers than any other single step.
If you’ve tried all four and the door still won’t do what you want, you’ve earned a call. There’s no point doing more diagnostics on your own.
How Centennial’s Temperature Swings and Altitude Create False Symptoms
Centennial sits in that particular Front Range band where a January morning might be 15 degrees and an afternoon in the same week could hit 50. That swing does specific things to a garage door system, and it creates symptoms that look like failures when nothing has actually broken.
The most common one is the sluggish opener in cold weather. The grease inside the opener’s gear case and the oil on the rollers thicken when temperatures drop. The motor has to work harder, and on openers that are already near the end of their adjustment range, that extra resistance can trigger the safety reverse. The door goes up halfway, decides it’s hit an obstacle, and comes back down. It’s not broken. It’s cold. On LiftMaster and Chamberlain units the force setting may need a small adjustment for winter, and the rollers may benefit from a proper lubricant rated for cold.
The second local quirk is the false limit error. Door travel limits drift slightly with temperature because the metal components expand and contract. A door that was perfectly tuned in October may stop three inches short in February. The fix is a limit reset, not a new opener.
The third is track binding. When the ground heaves with a freeze-thaw cycle – and Centennial’s clay-heavy soil does move with the seasons – the concrete slab the door is anchored to can shift slightly, and a track that was plumb in summer can lean in winter. The door then binds in one spot. If your door works in April and grinds in January, this is likely the culprit.
Altitude doesn’t usually affect a residential opener directly, but it does affect the way some garage door installers have to account for wind loads and door weight when specifying springs. A door that’s correctly sprung at sea level specifications may be undersprung for a heavier insulated model at Centennial elevations – a detail worth confirming before you buy a new door. If you’re considering a replacement, our team walks through the sizing process in our garage door installation guide.
Springs and Cables: The Line You Don’t Cross
Torsion springs and the cables that run along them store an enormous amount of mechanical energy. When a spring is under load, that stored force is holding hundreds of pounds of door weight in suspension. When the spring snaps, that energy releases instantly and without warning. We work on springs every week, and we treat them as a safety-critical specialty for a reason.
This is the single most important line in this guide: do not attempt to repair, adjust, or remove a torsion spring yourself. The winding process requires specific tools, specific technique, and a clear understanding of how much tension is stored at any given point. There is no safe DIY shortcut. A snapped spring also isn’t something you can spot-check by feel – once the spring has broken, the door can be dangerously heavy if you try to lift it manually.
The same applies to cables. A cable that’s come off its drum or snapped is a cable that will hurt you if you handle it under tension. If you see a cable hanging loose, do not wrap it back on yourself. Leave it alone and call.
What you can safely do with a broken spring is this: keep the door fully closed. Drive a car out is fine if you have a second door, but don’t force the broken door closed if it’s already open – the door is heavy and could drop. Move anything fragile out from under it. Then call. Spring repair is a core specialty for us, done in-house with trained technicians who do nothing else all day. It’s not a job we hand off, and it’s not a job you should hand off to a general handyman.
For those watching for spring failure before it happens: a spring that’s near the end of its life often shows a visible gap of an inch or more. If you see that and the door still works, book a scheduled replacement rather than waiting for the bang. It’s cheaper and safer than an emergency call.
Brand-Specific Quirks: What Your Opener Is Trying to Tell You
Openers from different manufacturers fail in different ways, and knowing the brand already in your garage changes the diagnostic path. We work on the eight major brands – LiftMaster, Chamberlain, Genie, Clopay, Amarr, Wayne Dalton, Craftsman, and Raynor – and each has its own fingerprints.
- LiftMaster and Chamberlain (which share most internals) tend to show logic board issues through stuck indicator lights and refusal to respond to remotes even after a reset. Their MyQ connectivity, when the module fails, can leave the opener working but the app useless. Not urgent, but worth knowing.
- Genie openers are more likely to indicate travel limit errors with a distinct blink code. Count the blinks on the LED before you call – techs can read the code over the phone and often know the part before they leave.
- Craftsman units are often older (many were made by a division of Chamberlain for the Sears brand) and are more likely to need a capacitor replacement than a full board replacement. If the motor hums but won’t turn, that’s the common pattern.
- Clopay and Wayne Dalton doors have specific panel construction and hardware profiles. Damage diagnosis is easier when you know the door brand, so if you have documentation from the original install, have it handy.
- Raynor openers and doors tend to be found in newer developments, and their components are slightly less interchangeable with aftermarket parts. This is a brand where getting the right OEM part matters.
None of this is something you need to memorize. It’s the reason we ask for the brand name when you call – it’s the difference between a technician who shows up with a few likely parts and one who shows up with the wrong ones and has to make a second trip. We see this most in Centennial where neighborhoods built in different decades ended up with different standard hardware. A 1990s subdivision, a 2005 build, and a new build can each have a completely different opener system.
If you’re not sure which brand you have, the model plate is usually on the motor housing or on the back of the opener. A photo sent by text is often enough for us to identify the unit before we dispatch.
How to Describe the Problem So the Right Parts Arrive
When you call, the way you describe the problem determines whether the technician can carry the right part on the first visit. Here’s how to prepare. It takes three minutes and saves a lot of frustration.
- Note the opener brand and model number, if you can find it. LiftMaster, Chamberlain, Genie, Clopay, Amarr, Wayne Dalton, Craftsman, Raynor – each one is a different parts path.
- Note the door brand and door style, if visible. Sectional door, carriage style, single or double car. Panel count helps.
- Describe the exact symptom sequence. “The door lifts about a foot and then comes back down” is completely different information from “the door doesn’t move at all.” Give us the sequence.
- Note any sounds. A bang, a grind, a hum without movement, a click without movement – each points at a different failure category.
- Confirm the door’s manual behavior. If you have a broken spring, the door will be very heavy to lift (or impossible). If it lifts by hand easily, that’s a different diagnosis.
- Check the spring visually. Is there a visible gap in either spring? Are both springs intact? Don’t touch them – just look.
- Check the cables. Are either cables off their drums or lying slack? Don’t touch – just look.
- Check the sensors. Are both LEDs lit? If you can, describe what the LED pattern is.
- Note the temperature context. Did the problem start after the first cold snap? Did it appear after a large temperature swing? That’s diagnostic for Centennial homes.
If the answer is “I have no idea what brand my opener is,” that’s still useful information. We’ll ask a few more questions during the call to narrow it down.
Common Mistakes to Avoid
- Forcing a jammed door with the opener. If the door binds partway up, holding the button and letting the motor strain damages the opener’s gear set and can bend the panels. Stop and diagnose.
- Assuming every failure means the opener needs replacing. A broken spring, a sensor issue, or a misaligned track can all present as “opener not working.” Diagnosing the cause first is what keeps costs down.
- Winding a torsion spring yourself. There’s no version of this that’s a good idea. The tension stored in a wound spring is enough to break a wrist. This is a trained professional job.
- Disconnecting the door from the opener while it’s open. The red pull cord disengages the carriage. If you pull it while the door is up, the door – especially one with a compromised spring – can drop. Only pull it with the door fully closed.
- Leaving a broken spring in place because the door “still works.” If you have two springs and one has snapped, the door will operate for a while on the remaining one. That one is now doing twice its designed load and will fail soon. It’s a scheduled repair today; it’s an emergency next month.
- Adjusting track alignment yourself. A track that looks like it needs a nudge usually needs a full re-alignment, and a door that comes off a bent track mid-motion can fall. This is a professional call.
- Wiping down the safety sensors with a wet cloth. Water on the lens can leave mineral residue, especially on Centennial’s slightly hard water. Use a dry cloth or a paper towel.
See the difference
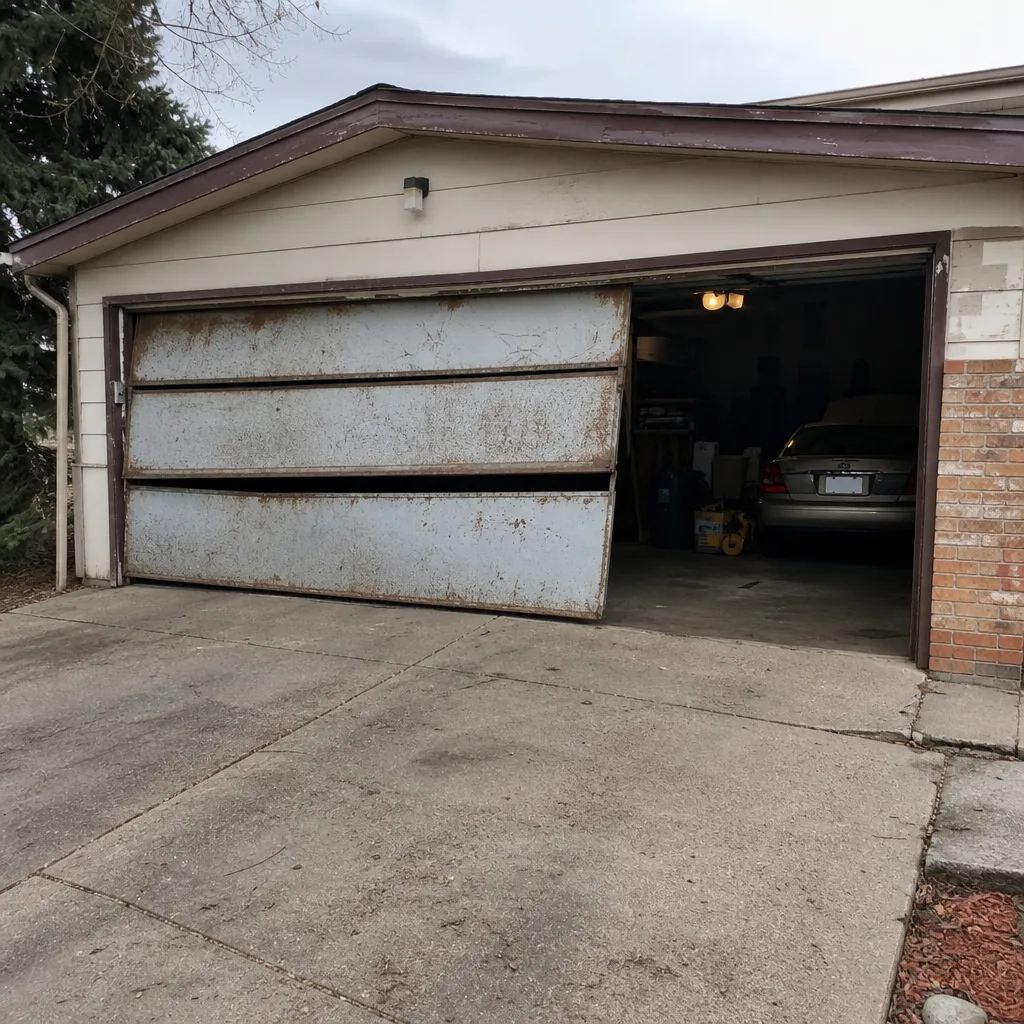 Before
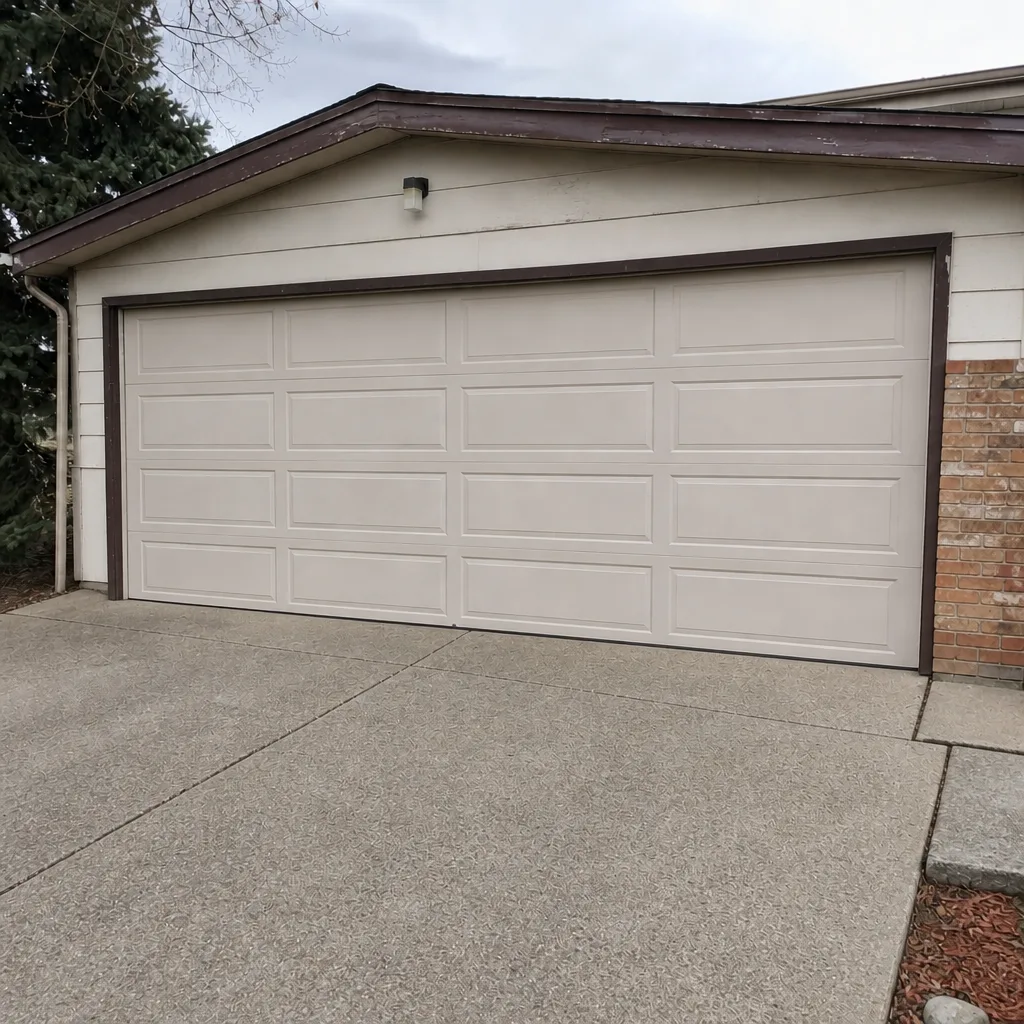 After
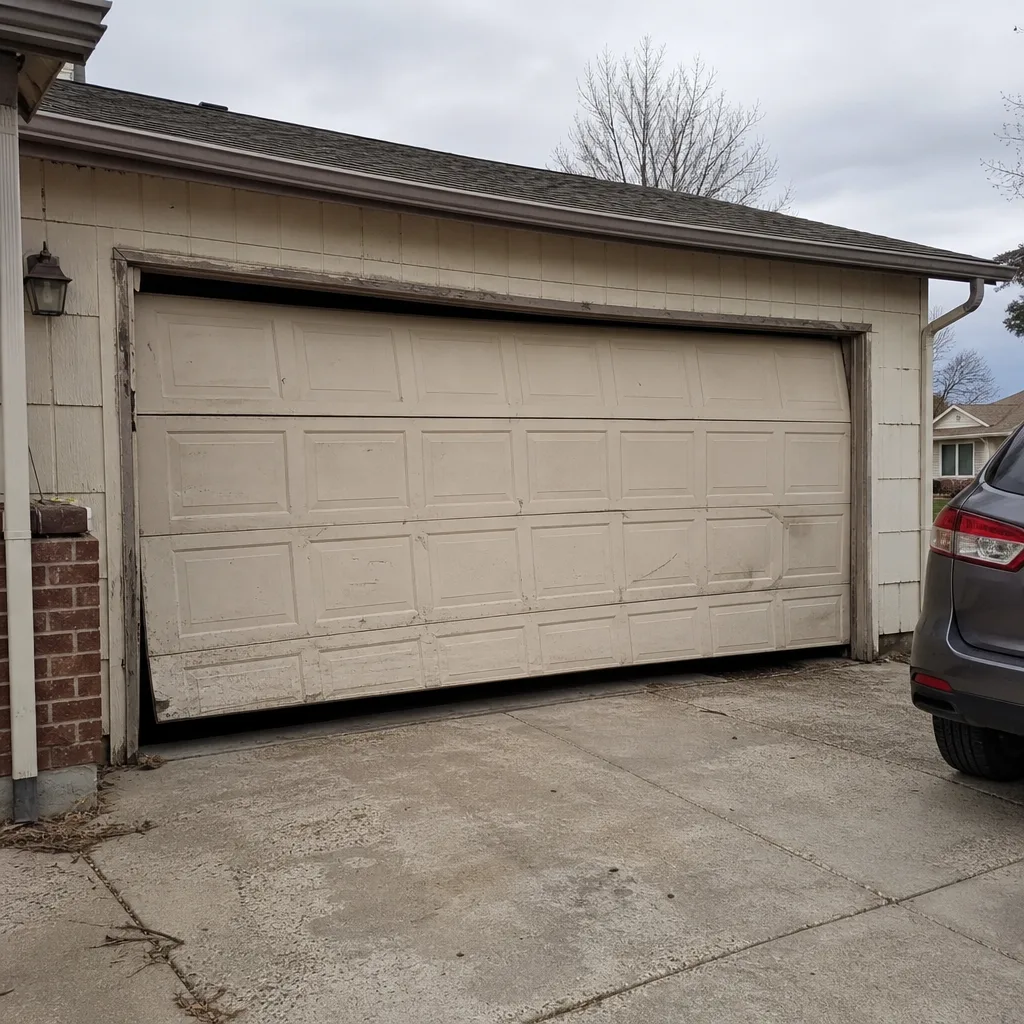 Before
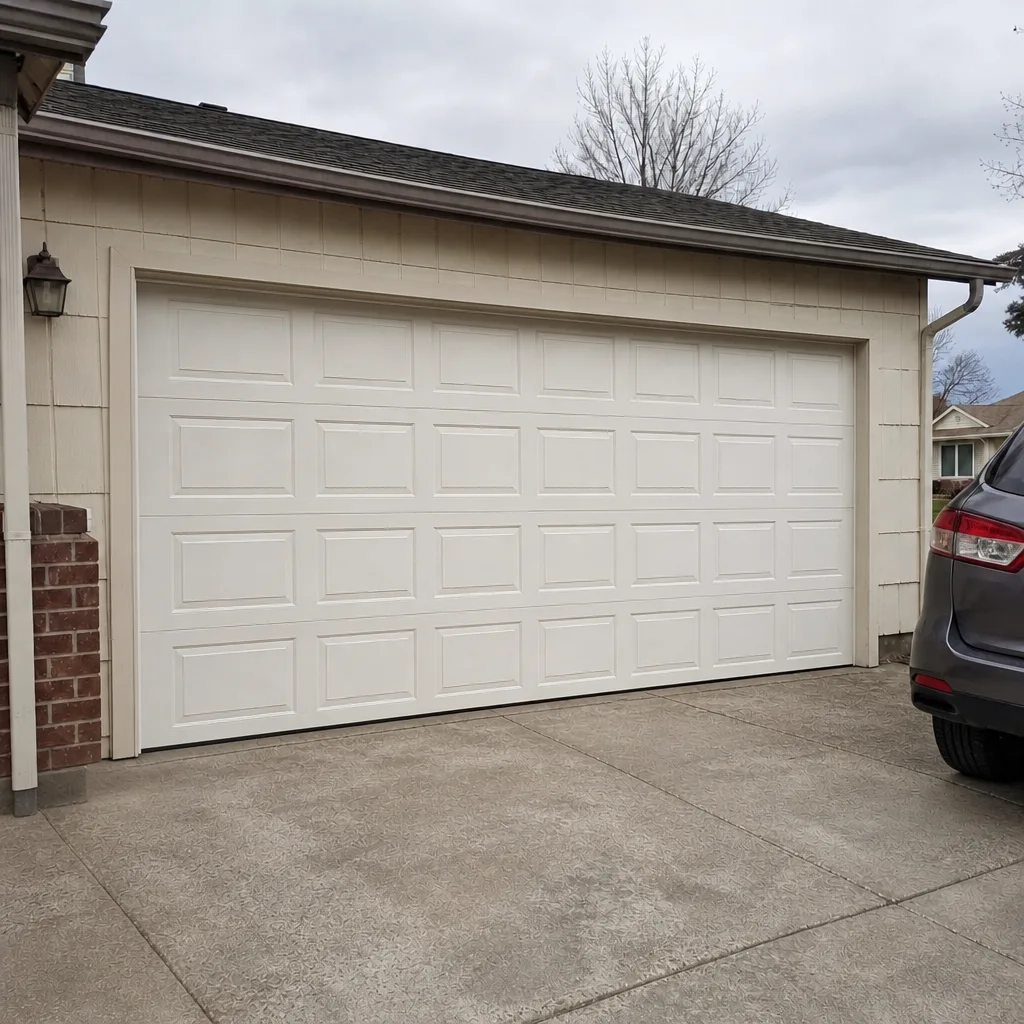 After
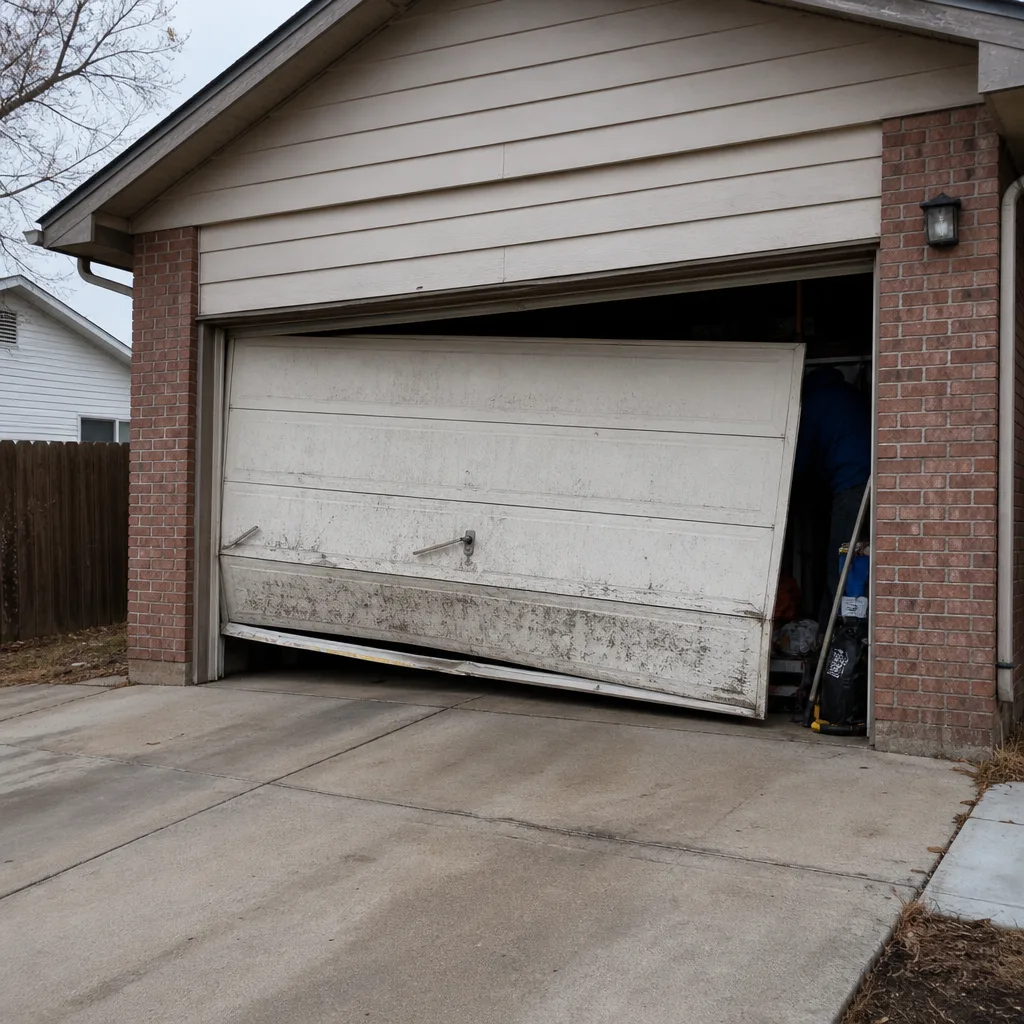 Before
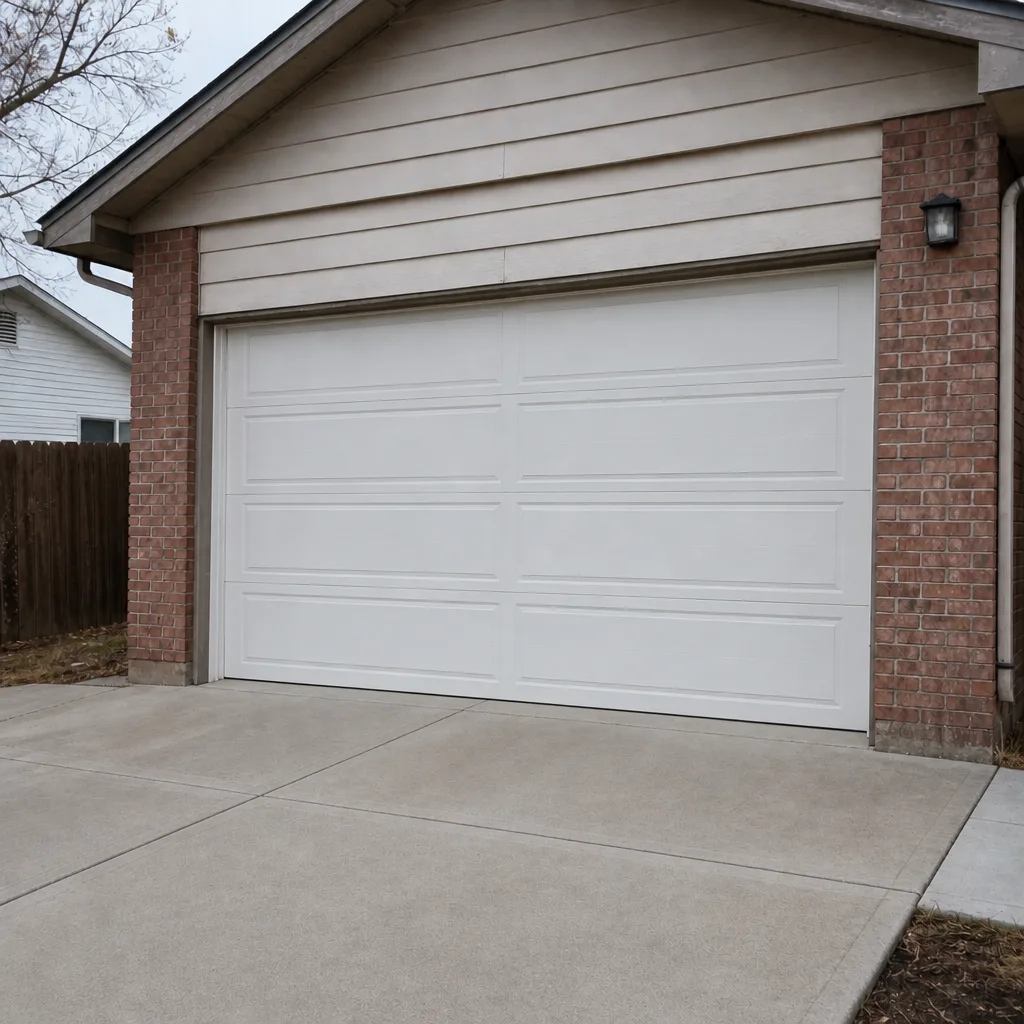 After
When to Call a Professional
Call a professional in every one of these situations: you’ve heard a bang and the door won’t lift, the door is hanging crooked or one side is sagging, you see a slack or off-drum cable, you can see a visible gap in either torsion spring, the track is bent, a panel is cracked or has come loose, or the door consistently reverses mid-travel even after the sensor reset. Also call if you’ve tried all four home resets and the door still isn’t behaving – continuing to diagnose on your own mostly risks making it worse. For a fast-moving failure, our emergency service is built for exactly this: a door that’s trapping a car or leaving a house unsecured. Reach us at (844) 575-1130 for free estimates in Centennial and to talk through the symptom before we book anything.
Frequently Asked Questions
Sometimes, yes – if the cause is one of the four resets (cheap, safe checks for sensor alignment, force and limit settings, manual re-engagement, or a power cycle), you can resolve it yourself in under ten minutes. If the door is heavy, hanging crooked, making a bang, or has a slack cable, stop and call a professional. Anything involving torsion springs or cables should never be handled by a homeowner.
A broken spring almost always announces itself with a loud bang and leaves the door too heavy to lift by hand. A broken opener usually leaves the door normal to lift by hand but won’t move it from the remote. Look at the torsion bar above the door for a visible gap in either spring, and try lifting the door manually with the release cord engaged with the door closed. If you’re not sure, don’t test it alone – describe the symptom over the phone and let the tech narrow it down.
Cold weather thickens the grease inside the opener and the lubricant on the rollers, which increases resistance and can trigger the opener’s safety reverse. This is a common false positive in Centennial’s winter mornings. Cleaning and re-aligning the safety sensors and re-running the opener’s travel limit cycle often resolves it; if it keeps happening, the force setting may need a professional adjustment.
It matters because different brands fail in different ways and use different parts – a Genie and a LiftMaster with the same symptom often need completely different fixes. Check the model plate on the motor housing, or take a photo of the unit. We work on all eight major brands, including Chamberlain, Clopay, Amarr, Wayne Dalton, Craftsman, and Raynor, so we can usually tell you over the phone what’s likely wrong.
Yes – a door that traps a car or leaves the home unsecured is exactly what our emergency service exists for. Call (844) 575-1130, describe the failure, and we’ll tell you what we can do and when. For scheduled repairs, same-day service is often available depending on the day’s load; for installations and new doors, we’ll book a free measure and written price instead.
The price is quoted and agreed before any work starts, so there’s no surprise invoice afterward. If the diagnosis changes after a technician assesses the door in person, you’ll hear about it before any additional work is approved. Call (844) 575-1130 for a free estimate and we’ll walk you through the likely range based on your description.
The Bottom Line
Most garage door failures look identical from the driver’s seat and are completely different underneath. Getting the category right – sensor issue, opener fault, spring failure, cable failure, track problem, or panel damage – determines both the cost and whether you should be touching the door at all. The four safe resets are worth ten minutes before you call. Springs and cables are not. In Centennial, temperature swings add false positives that look like failures but aren’t, and knowing the brand of your door and opener makes every conversation with a technician faster. When the door doesn’t move, start with the decision tree, stop at anything with tension in it, and reach out.
Need help sorting out a garage door problem in Centennial? Call Garage Door Repair Centennial Pros at (844) 575-1130 for a free estimate – our technicians have up to 15 years of experience and work on the brand already in your garage, including LiftMaster, Chamberlain, Genie, Clopay, Amarr, Wayne Dalton, Craftsman, and Raynor. Same-day garage door repair is often available, and emergency service is on hand when a door fails at the wrong moment. Whatever the symptom, describe it over the phone and we’ll tell you what’s likely wrong before you commit to anything.
Written by the team at Garage Door Repair Centennial Pros.