Last updated November 22, 2026
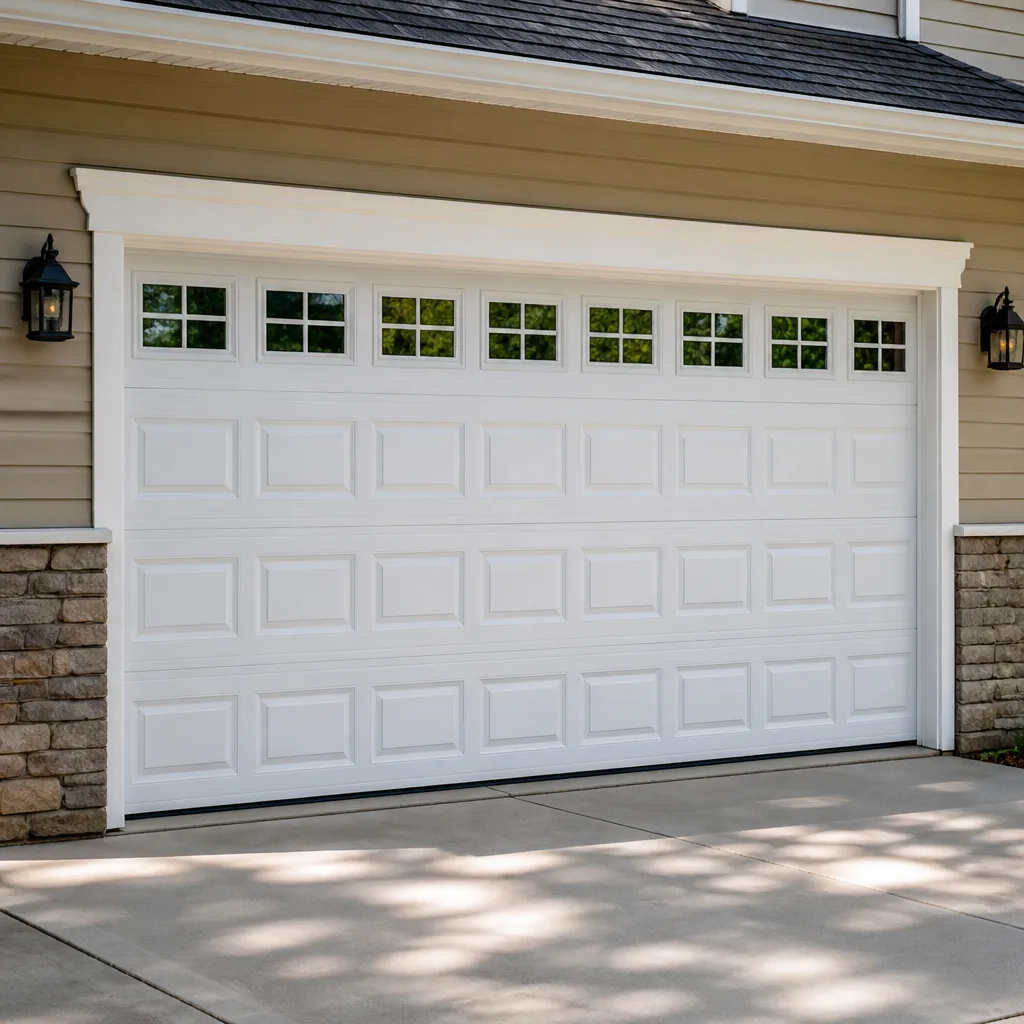 Raised-panel steel
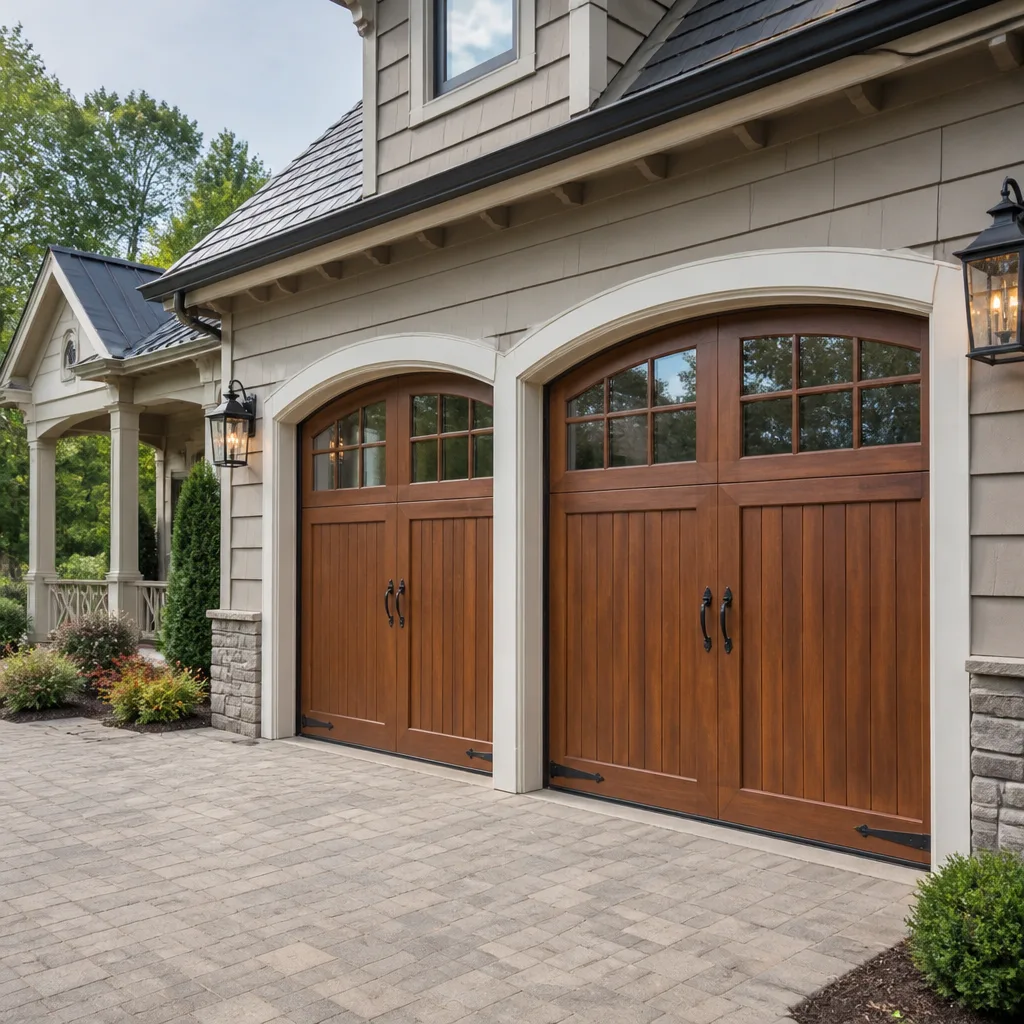 Carriage house
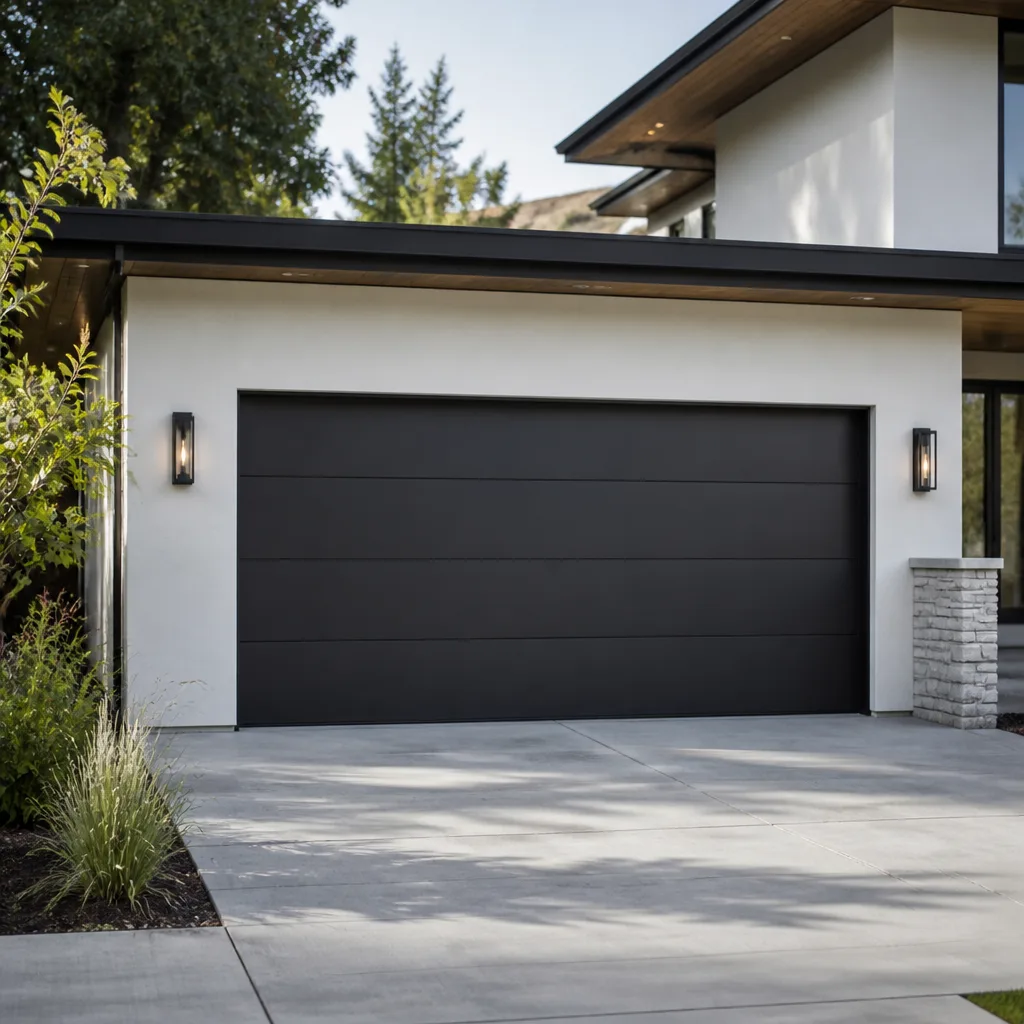 Modern flush
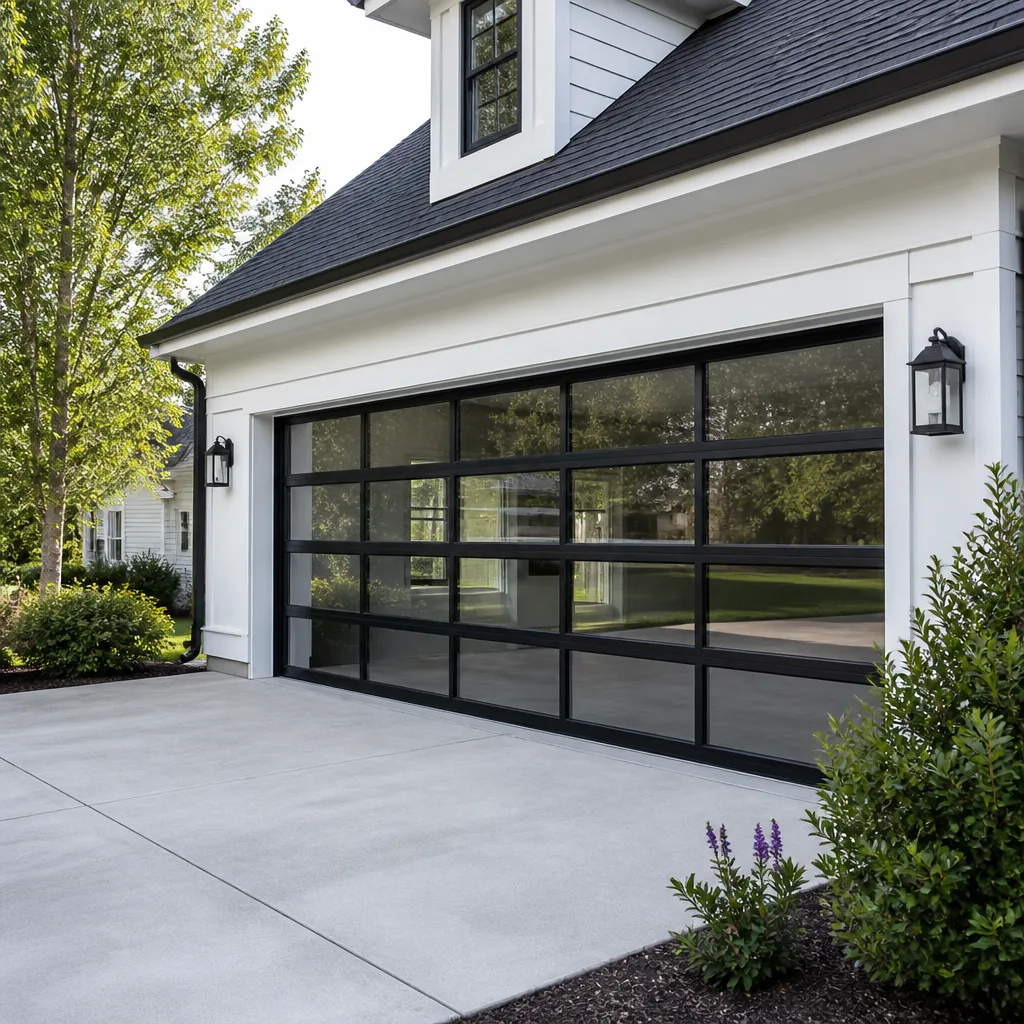 Full-view glass
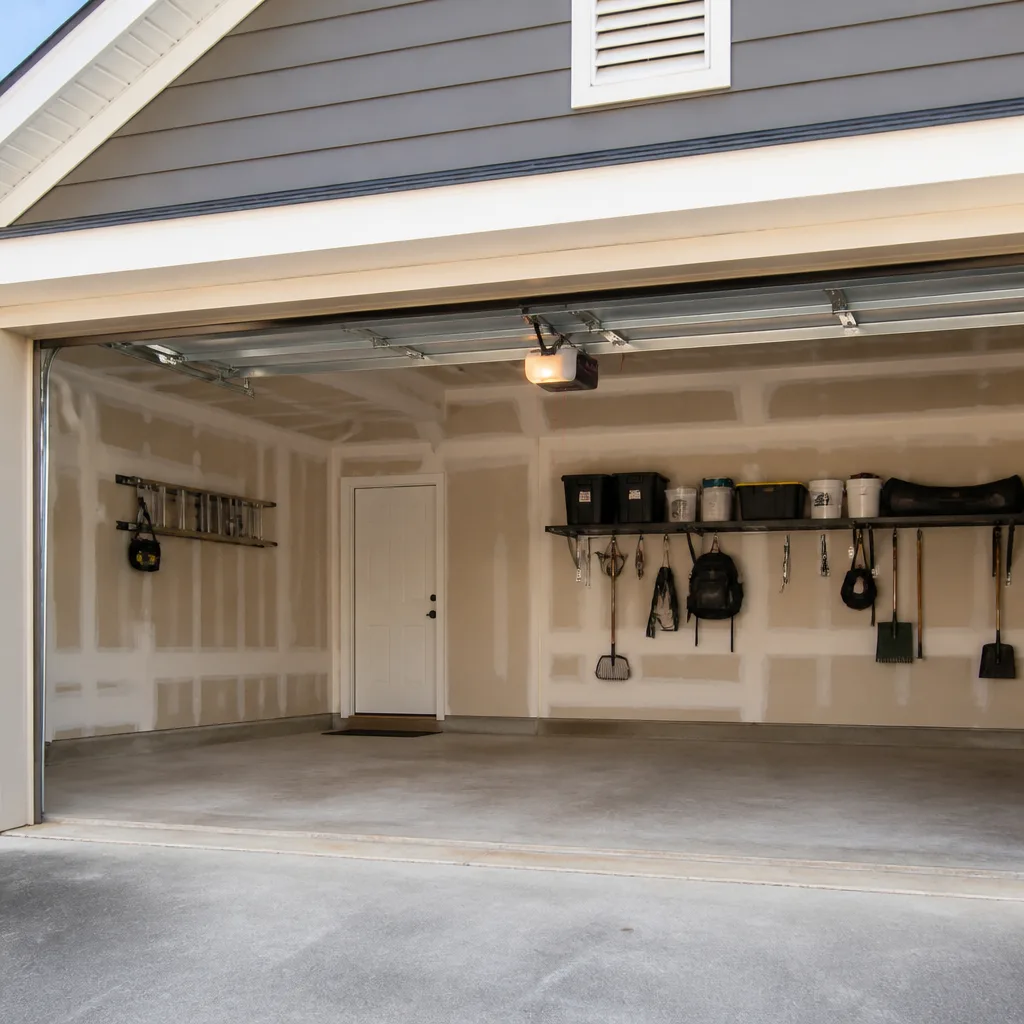 LiftMaster openers
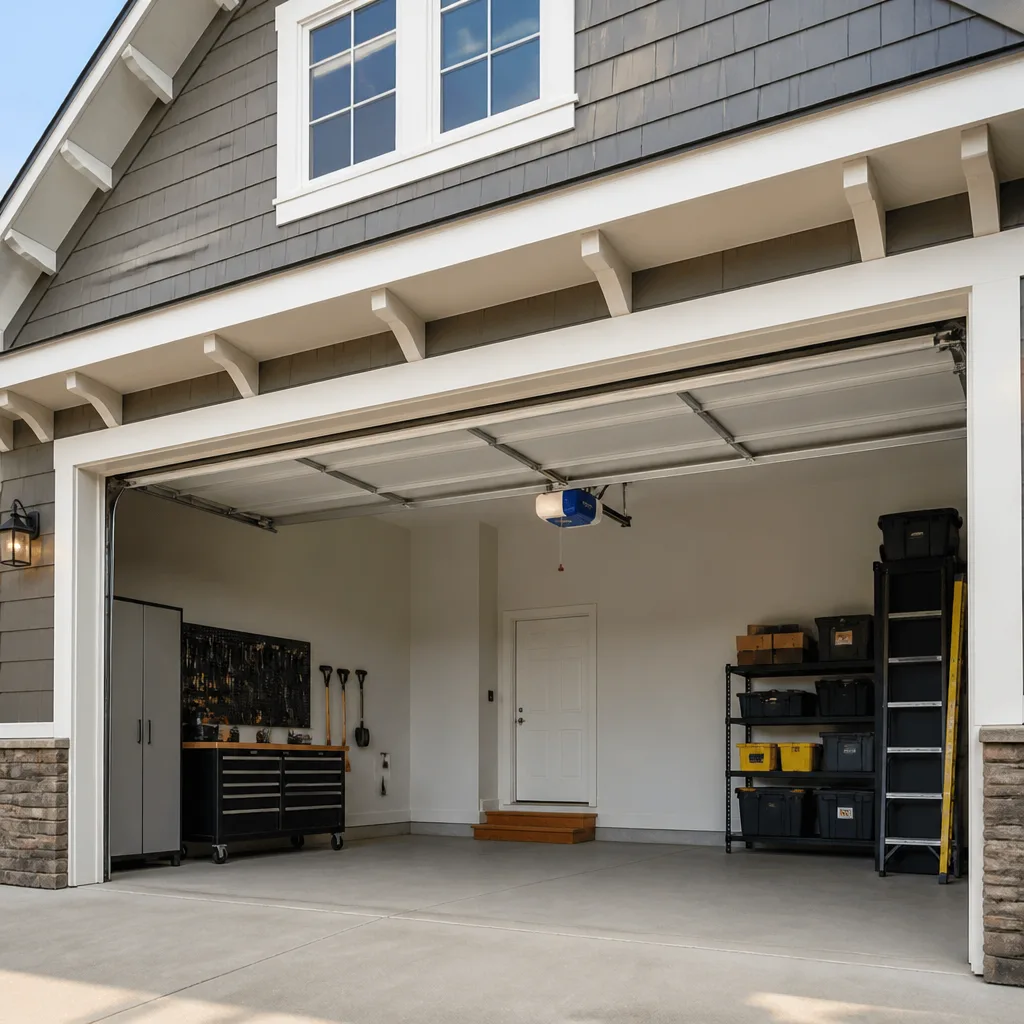 Chamberlain openers
Full 25-point door and opener safety check with every visit - springs, cables, rollers, tracks, and your LiftMaster or Chamberlain opener included
You get a price before we start. It does not change when the pro arrives.
Get your free estimateDIY vs Professional Garage Door: The Centennial Homeowner’s Decision Guide
Most homeowners frame the DIY question as a test of confidence. It isn’t. A torsion spring on a standard 16×7 door stores roughly 100 ft-lbs of torque at full wind, and that energy leaves instantly if a winding bar slips out of the cone. No amount of YouTube preparation changes the physics, and no amount of carefulness makes a spring safe to handle with the wrong tools. What follows is a task-by-task breakdown for Centennial homeowners: the jobs that are genuinely reasonable to do yourself, the ones that carry injury or structural risk no matter how handy you are, and an honest cost comparison that includes the tools, the time, and the rework when a first attempt fails.
Quick Answer
The split comes down to stored energy and structural consequence, not skill. Sensor alignment, lubrication, opener remote programming, and weatherstrip replacement are safe homeowner jobs. Spring, cable, track, and bottom-bracket work requires a trained technician because a slip can cause serious injury, and DIY attempts on those components typically void the manufacturer’s warranty on the door or opener. For everything on the hazard list, a professional repair in Centennial is the reasonable call; for routine maintenance, doing it yourself is fine.
Styles & brands we work with
- Raised-panel steel
- Carriage house
- Modern flush
- Full-view glass
- LiftMaster openers
- Chamberlain openers
Table of Contents
- What a Centennial Homeowner Can Safely Do
- Why Springs Are Different: The Physics Nobody Explains
- A Real Cost Comparison, Including Tools and Rework
- How DIY Voids Your Door and Opener Warranty
- What Brand Familiarity Changes About a Repair Call
- When a Quote Feels Like Too Much: How to Verify Scope
- How Centennial’s Climate Affects Door Wear
- Emergency Situations: What Nobody Preps For
What a Centennial Homeowner Can Safely Do
The honest short list is longer than most repair companies admit. If you’re mechanically capable and willing to use a stepladder carefully, several of the most common garage door complaints are yours to handle, and doing them yourself is genuinely cost-effective in Centennial.
What falls into the safe-to-DIY category:
- Safety sensor alignment. If your door reverses and reopens immediately after closing, the photo-eye on one side is usually out of aim or blocked by a spiderweb. Loosen the wingnut, retarget the lens at the opposite sensor, and confirm the LED on each unit glows steadily. A laser level helps; a string line works fine.
- Lubrication. A dry door screams. Use a garage-door-specific lithium grease on the torsion spring (not WD-40, which attracts dust) and a silicone spray on the tracks, hinges, and rollers. Once or twice a year is plenty in Centennial’s dry air.
- Opener remote programming. Whether you have a LiftMaster, Chamberlain, Genie, or Craftsman unit, the pairing sequence is in the manual or printed on the opener head. Most take under five minutes.
- Weatherstrip replacement. The vinyl or rubber flap along the bottom of the door ages fast in Colorado’s summer-winter swing. It slides out of an aluminum retainer and a replacement slides back in. No tools beyond a screwdriver.
- Panel wiping and visual inspection. Look at the cables for fraying, the hinges for rust, and the bottom seal for cracks. You can spot problems without fixing them.
We’re careful to draw the line here because the same confident homeowner who aligns a sensor in ten minutes is often the person who tries a torsion spring the following weekend. Those are not comparable jobs. Sensor work has no stored energy. Spring work has enough to break a wrist.
Even within the safe list, some tasks overlap with professional work in ways that aren’t obvious. If the sensor won’t hold aim, the bracket is bent, or the door still reverses after alignment, the problem has moved from sensor to opener logic or the door’s travel limits. That’s when garage door opener repair is the right next step, not another afternoon on the ladder.
Why Springs Are Different: The Physics Nobody Explains
A torsion spring is a wound steel bar held in a state of controlled tension. On a standard residential door, the spring counterbalances the door’s weight so a 150-pound panel can be lifted with one hand. To hold that weight in place, the spring has to be wound dozens of turns, and every one of those turns stores energy. When the spring breaks, or when a winding bar slips out of the cone during installation, that energy is released in a fraction of a second.
This is not a difficulty problem. A torsion spring isn’t hard to wind the way a stripped bolt is hard to remove. It’s dangerous the way arc welding is dangerous: competent hands can do it safely, but the failure mode is not a frustrating afternoon, it’s an injury. That distinction matters, and it’s why so many general handymen decline spring work entirely.
The specific conditions that make spring work a technician job:
- Winding bars. Springs are wound with a pair of solid steel rods, sized to fit the winding cone. Substitutes (screwdrivers, sockets, punches) are the most common cause of serious injury because they can’t hold torque and they shear.
- The right spring. Springs are matched by inside diameter, wire gauge, and length. A mismatched spring will either fail early or overload the opener. Getting the spec right requires knowing the door’s weight and the existing spring’s measurements, which most homeowners don’t have.
- Cable tension. Cables run along the sides of the door under constant load. Handled out of sequence during spring work, they can whip. A snapped cable is a genuine lacerating hazard.
- The bottom bracket. The bracket at the lower corner of the door holds the cable under tension. Many manufacturers explicitly warn against loosening it, because the cable can release without notice.
In our experience in Centennial, spring failures cluster around the first cold snap and the first hot week of summer. Steel doesn’t like rapid temperature shifts, and the springs on a door that faces west take more of that swing than a door in shade. If you call about a broken spring, our technicians handle it in-house, which is a less common arrangement than you’d expect. If the local pro you call outsources spring work to a subcontractor, the timing gets harder to predict.
One pricing detail matters here and gets missed constantly. A quoted spring range is for one spring. Most residential doors carry a matched pair, and replacing both at once is standard practice because a second 15-year-old spring on a door that just snapped its twin is on borrowed time. Expect a pair to cost roughly twice a single spring’s price. Ask the technician to quote both options so you can decide.
A Real Cost Comparison, Including Tools and Rework
The DIY math usually starts with the part price and stops there. That’s the wrong starting point. A realistic comparison includes the tools you don’t own yet, the hours you’ll spend, the chance the first attempt doesn’t take, and the door or opener damage that follows a failed attempt.
| Task | Typical professional estimate (single spring) | DIY reality |
|---|---|---|
| Torsion spring replacement | $180 – $340 per spring | Spring $35 – $60, winding bars $30 – $50, plus meaningful injury and warranty risk |
| Safety sensor replacement | $85 – $150 | Sensor pairs $15 – $30, no special tools |
| Opener repair (board, gear, travel limits) | $150 – $325 | DIY possible on some boards, but brand-specific diagnosis is the hard part |
| Bottom weatherstrip replacement | $100 – $200 | Replacement strip $20 – $40, screwdriver |
| Track realignment | $120 – $250 | Not recommended; misaligned tracks can drop a door off the rails |
| Cable replacement | $120 – $250 per side | Not recommended; cables are under load and can whip |
Notice what the DIY column doesn’t include: your time. A spring job done with proper tools takes a trained technician roughly an hour. A first-timer with borrowed tools can spend four hours and still wind up calling someone. If the winding bar slips once, you may spend the rest of the day at urgent care instead. That’s not a scare tactic, it’s arithmetic that doesn’t appear in the DIY budget.
Rework is the other line nobody adds. In our experience, the most common callback from a homeowner who tried a repair is one where the diagnosis was wrong, not the repair. A door that reverses gets blamed on the sensor when the actual cause is a binding track, or an opener that grinds gets blamed on the opener when the actual cause is a failing spring. Buying parts that turn out to be the wrong parts is a normal part of DIY, and it isn’t zero.
The professional side has one thing the DIY side can’t match: a written estimate before work begins. When you call a garage door specialist, you get a quoted price range, an agreed scope, and the invoice that matches. There’s no surprise line item. That predictability is a real part of the cost comparison, even though it doesn’t fit on a spreadsheet next to the spring price.
How DIY Voids Your Door and Opener Warranty
This is the consequence most homeowners discover only after something goes wrong. Most residential garage door manufacturers condition their warranty on the door being installed and serviced by a trained professional. Spring and cable work are the specific trigger points. If a homeowner replaces a spring and the door later drops or the panel warps from misbalanced tension, the manufacturer is entitled to deny the claim on the basis that unqualified hands touched a component the warranty excluded.
The opener side of the warranty works the same way. If your LiftMaster, Chamberlain, Genie, or Craftsman opener fails after a homeowner has been under the cover tinkering, the manufacturer can decline the claim on the basis of unauthorized work. On a $400 to $800 opener, that denial costs more than the repair you were trying to avoid.
What’s covered vs. what’s risky:
- Usually fine to DIY: sensor cleaning and realignment, remote programming, lubrication, and exterior panel wiping. None of these void anything.
- Grey zone: weatherstrip and bottom seal replacement. Some warranties tolerate it, others don’t. Check the terms.
- Void-triggering: spring replacement, cable replacement, track removal or realignment, and any opener board swap on a unit still under warranty.
This is one of the reasons we say garage door repair is where the warranty calculus actually lives. A professional repair keeps the door’s manufacturer coverage intact, which is worth more than the labor it costs if the panel or opener fails again within the warranty term. It’s also why we recommend calling before you buy parts. A two-minute conversation about what you’re seeing saves more than it costs.
If you’re not sure whether your door or opener is still under manufacturer warranty, the serial number on the opener head and the door’s model plate are the two facts to have in hand when you call. Most brands can tell you the coverage period from those.
What Brand Familiarity Changes About a Repair Call
The difference between a good repair and a frustrating one often comes down to brand specifics. Every major manufacturer has engineering quirks: a Wayne Dalton door that needs a different spring spec than the panel weight suggests, an Amarr model with a bottom bracket that behaves differently under load, a Raynor torsion system with its own winding sequence. A generalist handyman works it out on the clock. A brand-familiar technician already knows.
That distinction matters more than most homeowners realize, and it shows up in two ways:
- Diagnosis speed. A technician who has worked on your Amarr door before recognizes the symptom pattern in minutes rather than hours. You pay for the repair, not for the technician’s learning curve.
- Part accuracy. Brand-specific parts, especially springs, opener boards, and hardware kits, are not interchangeable. A technician who knows your model knows what to bring or order, which cuts days of waiting out of a replacement.
We work on the brand already in your garage. That includes the eight brands we see most often around Centennial: LiftMaster, Chamberlain, Genie, Clopay, Amarr, Wayne Dalton, Craftsman, and Raynor. This isn’t about exclusivity; it’s about knowing the equipment instead of guessing at it. A technician who has to consult a manual for every step of an opener board replacement is charging you for the consult. One who recognizes the board on sight isn’t.
There’s a subtler point here about matching doors and openers. A Raynor door and a Craftsman opener aren’t an automatic mismatch, but the lift force calibration, travel limits, and safety reverse sensitivity all depend on the two working together. If you’re replacing either, having one team who understands both sides of the system saves the second call. That’s the logic behind garage door installation: the door and opener belong to the same job, so the same team should scope both.
When a Quote Feels Like Too Much: How to Verify Scope
Homeowners have a legitimate reason to be suspicious of any contractor quote, especially when the price feels high relative to what they imagine the job involves. But the right response isn’t to dismiss the quote and DIY it. The right response is to verify the scope. A well-run garage door company will answer these questions straight, and a company that won’t is telling you something useful.
Ask these questions before you approve the work:
- What exactly is included? Spring, cables, winding bars, disposal, labor, and a lift-force test after installation should all be named. If a quote is $180 and none of those are listed, ask what isn’t in it.
- Is this one spring or both? A matched pair is standard for a reason. A quote that isn’t clear about the count needs clarification.
- What brand and model are the parts? A technician who knows your Clopay door or your Genie opener will name the replacement parts. Vague answers (“a standard spring”) are a red flag.
- Is the price before or after the diagnostic? Free estimates mean the number you get is the number on the invoice, assuming nothing hidden turns up. Ask what would change the price mid-job.
- Is the work warrantied? A repair warranty on the labor and the parts is standard from a company that stands behind the work. Ask what the coverage period is and what voids it.
- Will you test the door after the repair? Lift-force balance and safety reverse should both be tested before the technician leaves. If the answer is “yes, obviously,” that’s the right answer.
A quote that holds up under those six questions is legitimate. A quote that gets defensive or vague, on the other hand, isn’t worth arguing about. Invite a second opinion. Getting a free estimate from a company whose only trade is garage doors is not a delay; it’s the cheapest insurance on the whole job. The specialists can tell you in minutes whether the scope you were quoted is what the door actually needs.
One point that surprises homeowners: a quote that’s lower than expected is sometimes the bigger warning sign. Cheap spring work usually means a mismatched spring, omitted warning labels, no post-repair lift test, or a technician who isn’t insured for the work. A verified quote and a legitimate one are usually the same number.
How Centennial’s Climate Affects Door Wear
A Centennial garage door lives a harder life than the same door in a milder climate. The front range gets large swings between summer heat and winter cold, and those swings work on every moving part of the door. What that means in practice:
- Springs cycle faster. A door in regular use makes two cycles a day, and cold-weather contraction stresses the spring steel more than warm-weather operation. That’s why a broken spring in Centennial often shows up right when the temperature drops or spikes.
- Lubrication matters more here. Our dry air degrades grease faster than humidity would. A door that goes twelve months without lubrication will run noticeably louder by the end of it.
- Weatherstrip wears out. The bottom seal takes UV in summer and cold-contraction in winter. Replacing it before it cracks is cheaper than replacing the panels it lets moisture into.
- Tracks shift with the ground. Expansive clay soil around Centennial homes moves a little each season. That movement can nudge a track out of alignment. If the door starts rubbing on one side, sense the track before assuming the opener is at fault.
Neighborhood-specific context matters too. Homes in the Willow Creek and Foxridge areas have garages that face east and west respectively, and the west-facing ones take more afternoon sun on the door panels. That accelerates paint fade and seal wear. Doors facing north, like many in the Cherry Creek Vista area, see more seasonal frost on the bottom seal, which cracks it faster. None of this changes the DIY calculus, but it changes how often the visual inspection and lubrication should happen.
The good news is that the maintenance list is short and the season is forgiving. Doing a full inspection once in spring and once in fall catches most of what fails here. Catching a worn weatherstrip, a slightly misaligned track, or a dry spring before failure is cheaper than the emergency call.
Emergency Situations: What Nobody Preps For
The DIY-versus-professional decision changes when the failure is time-sensitive. A door that won’t open with a car trapped inside, or a door that’s stuck open leaving the house unsecured, isn’t a Saturday project. That’s the moment when the “I’ll get to it” repair becomes a same-day call, and Centennial homeowners deal with this more often than the general advice pages admit.
The scenarios that call for immediate service:
- Broken spring with the door stuck down. The door won’t lift, and forcing it up will damage the panels or the opener. This is a same-day repair.
- Door stuck open or fallen off the track. Security risk, and a bigger structural issue if it stays open. Same-day.
- Opener motor running but door not moving. Usually a stripped gear or a snapped spring. Diagnosis needs a technician, but the door being stuck is the urgent part.
- Door reverses partway up or down repeatedly. Sometimes a sensor issue, sometimes a spring balance issue. A door that reverses unpredictably is a hazard and shouldn’t be operated until inspected.
When the door won’t move, we do. Emergency garage door service exists for exactly this. Calling the specialist at the moment of failure is a better move than waiting for a scheduled appointment, because the door is either a security gap or a blocking point for the car. If a Saturday fails and you’re closed out, the practical move is to call and get booked for Sunday. The problem doesn’t get smaller overnight.
The reason emergency service is worth having from the same company that does repair and installation is simple: no re-diagnosis. A technician who shows up for an emergency call on a LiftMaster opener has already worked on that model, has the parts, and knows what a fair scope looks like. That’s the same advantage as a regular repair, just compressed into hours instead of days.
Common Mistakes to Avoid
- Using screwdrivers or punches as winding bars. They don’t fit the winding cone, they don’t hold torque, and they’re the most common cause of serious spring-related injury. A pair of proper winding bars is $30 to $50 – much cheaper than a hand surgeon.
- Assuming every symptom is the sensor. Doors that reverse after alignment usually have a travel-limits or spring-balance problem. In Centennial’s climate, a door that reverses in cold weather is often a failing spring, not a dirty photo-eye.
- Replacing one spring on a matched pair. If one breaks, the other has been under the same load and fatigue. Replacing both at once avoids a second failure – and a second bill – a few weeks later.
- Skipping the post-repair lift test. After any spring or cable work, the door should be manually lifted halfway and confirmed to balance. If it slams or drops instead of holding, the tension is wrong and the door isn’t safe to use.
- Buying parts before diagnosing. A Craftsman opener that grinds can be a stripped gear, a bad board, or a door balance issue that has nothing to do with the opener. Buying the wrong part doesn’t shorten the repair; it just adds a return trip to the hardware store.
- Ignoring track alignment in the off-season. The clay soil around Centennial shifts each spring. A track that was fine last year can rub by the next. If the door starts sounding different, sense the track before blaming the opener.
- Not asking about warranty before starting. A DIY spring job on a door still under manufacturer coverage can void the warranty on a panel that costs more than the whole repair would have. The check takes one phone call.
See the difference
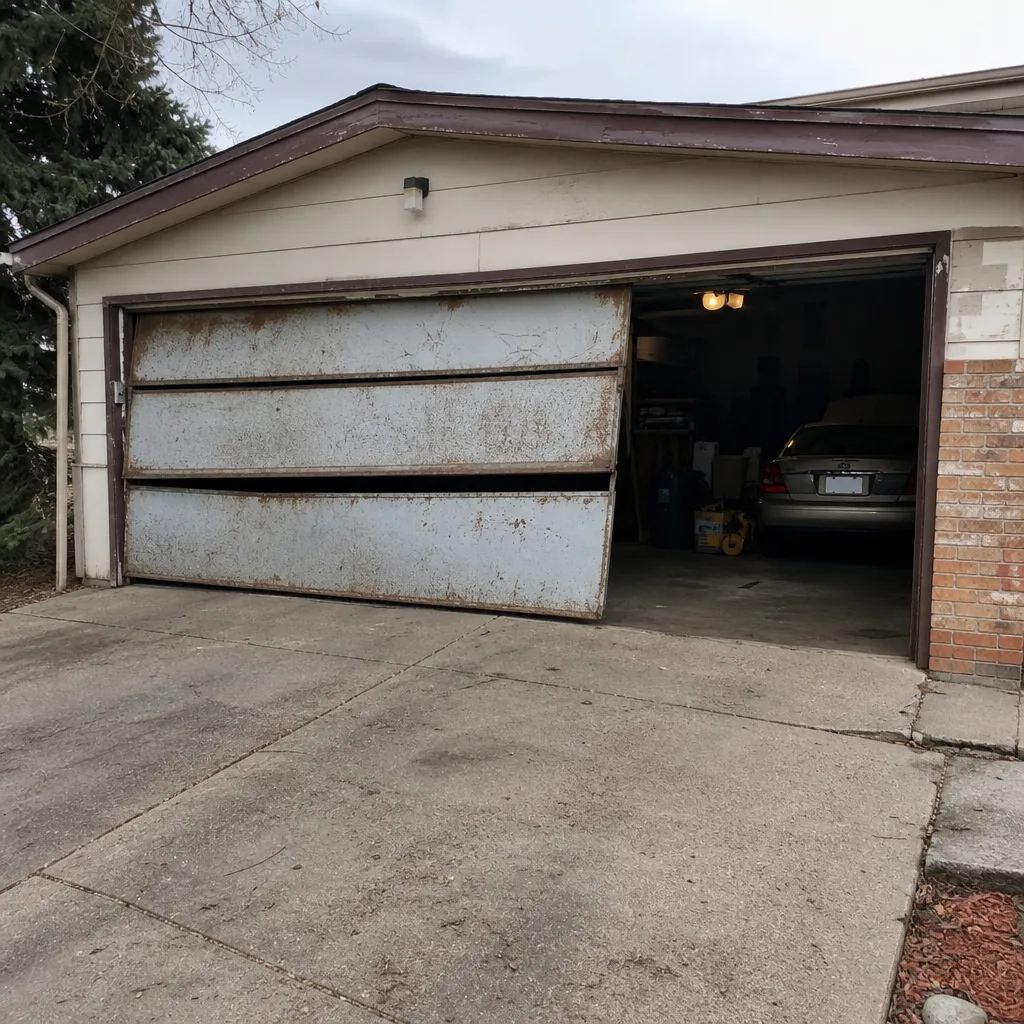 Before
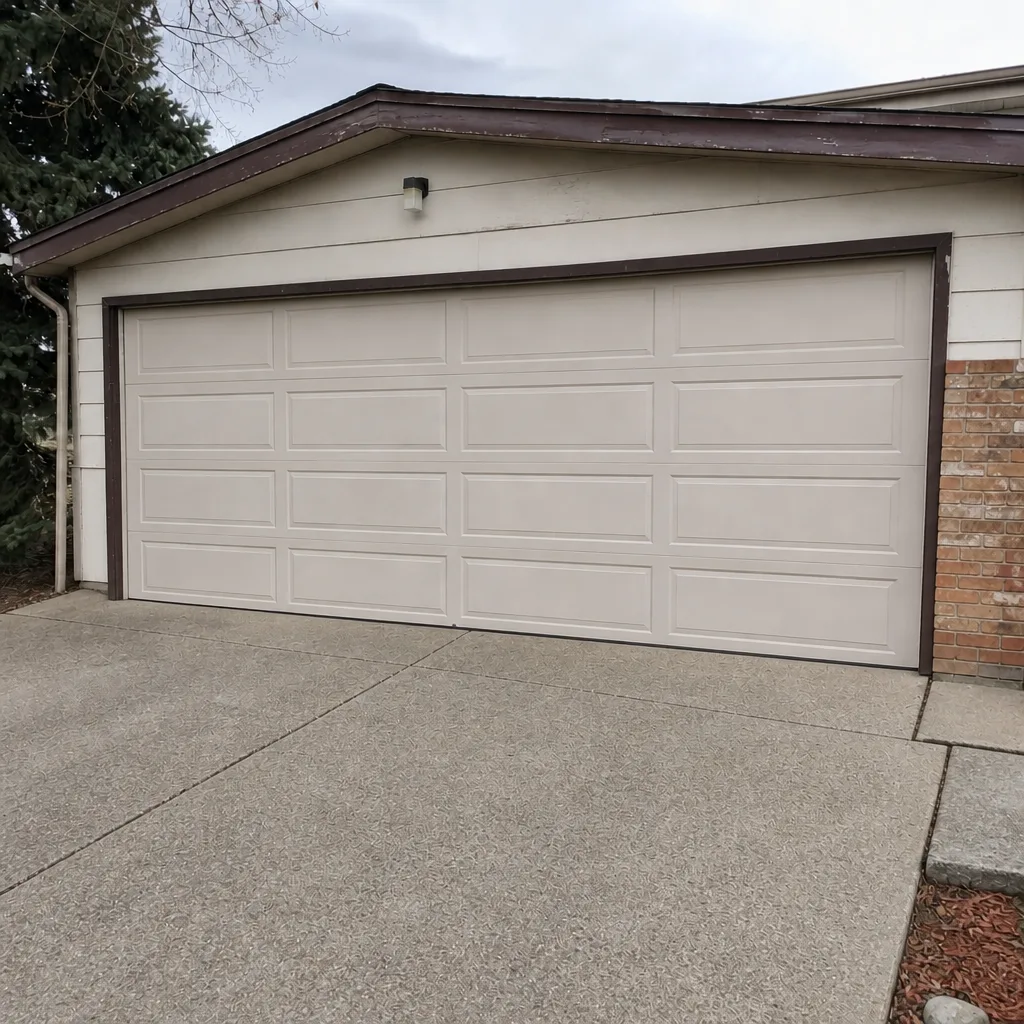 After
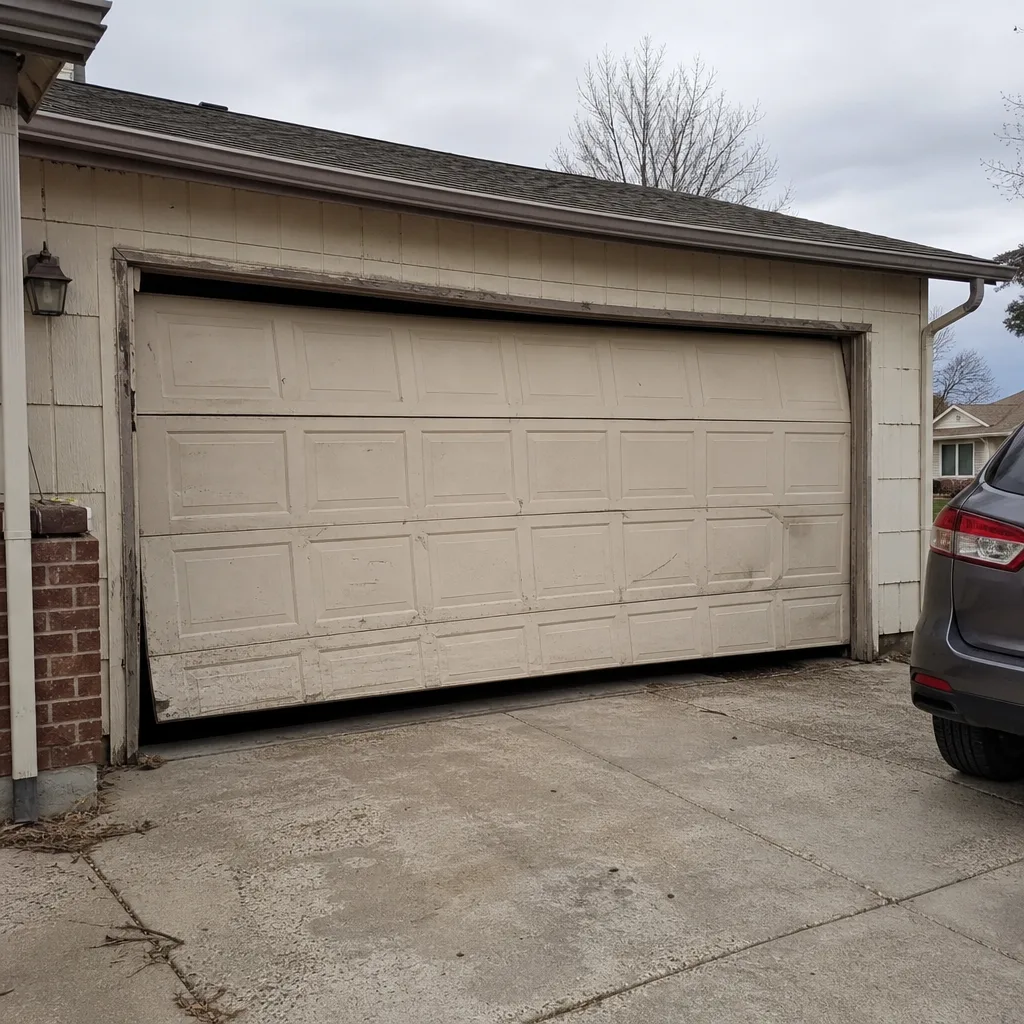 Before
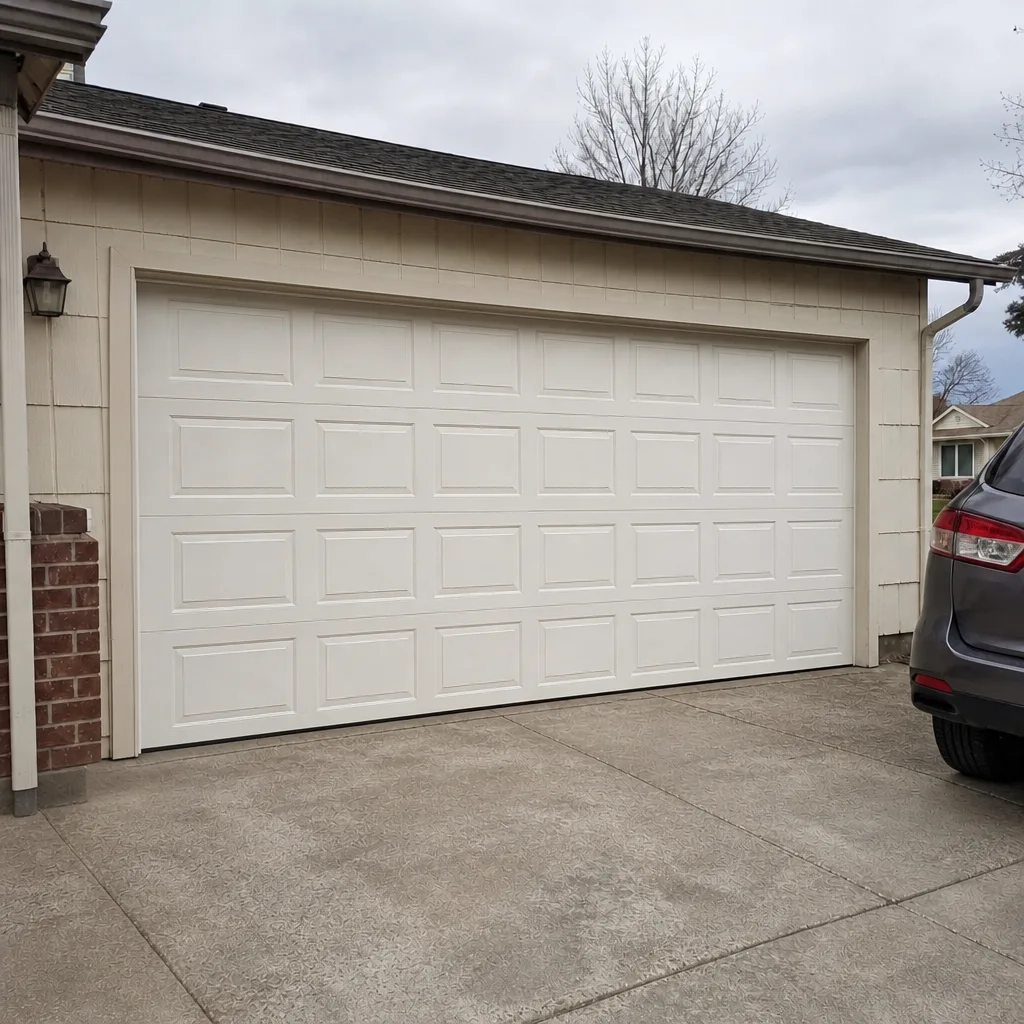 After
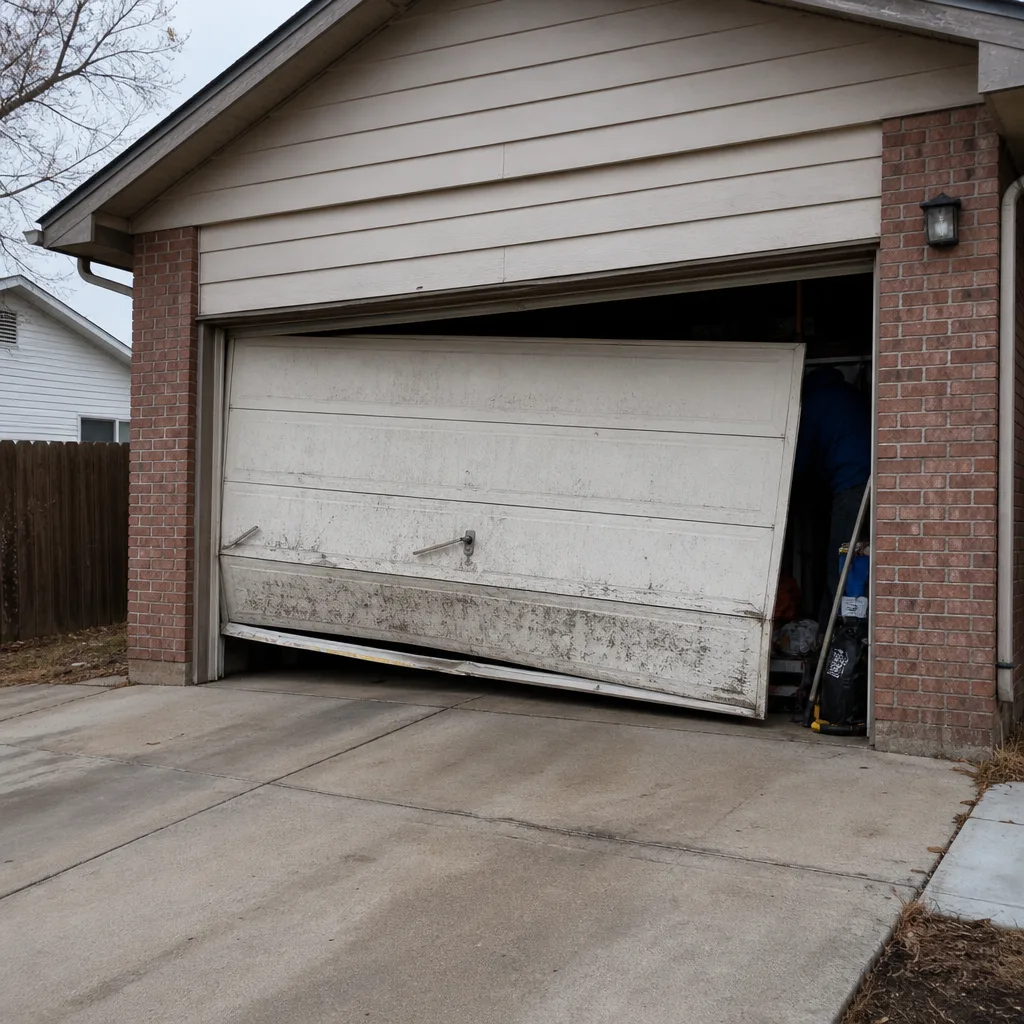 Before
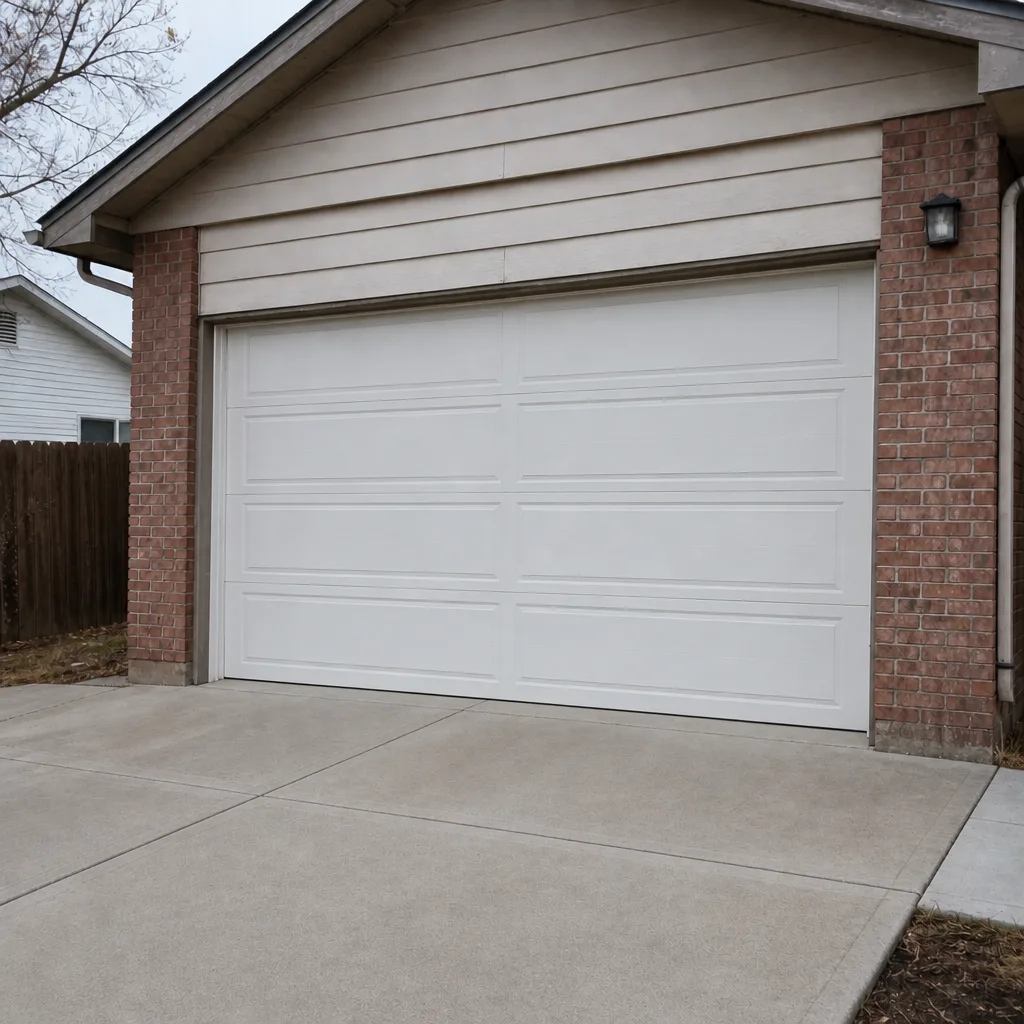 After
When to Call a Professional
The short version: anything involving a torsion spring, a cable, a bottom bracket, a track that needs removing, or an opener board replacement is a professional repair. Anything involving the safety sensors, lubrication, remote programming, or weatherstrip is reasonable to do yourself if you’re mechanically comfortable and use a ladder carefully. And any time the door is trapped, stuck open, off the track, or making a sound it didn’t make last month, the call should come before anything else.
If you’re between categories, call. A professional diagnosis beats a guess every time, and the estimate is free. Garage Door Repair Centennial Pros is the team to call for Centennial homeowners who want a same-day same-brand repair, and our technicians have up to 15 years of experience with the brands most common in Centennial garages. Call (844) 575-1130 for a free estimate.
Frequently Asked Questions
We don’t recommend it. A fully wound spring on a standard 16×7 door holds roughly 100 ft-lbs of torque, and that energy releases instantly if a winding bar slips. Without the right winding bars, the right spring spec, and the sequence to handle the cables, the injury risk is real regardless of mechanical skill. A trained technician can do the job in about an hour with proper tools and a lift-force test at the end.
Safety sensor alignment, lubrication, opener remote programming, weatherstrip replacement, and visual inspection are all reasonable for a homeowner. These tasks carry no stored-energy risk and don’t touch the door’s structural components. If any of them don’t resolve the issue after one attempt, the problem has moved to a component that needs a technician.
In most cases, yes. Manufacturers condition their coverage on the door being serviced by a trained professional, and spring or cable work is the specific trigger. If a homeowner replaces a spring and the door later fails, the manufacturer can deny the claim. The cost of that denial is usually higher than the repair would have been.
Typical professional pricing is about $180 to $340 for one spring. A matched pair is standard practice on most residential doors, so plan for roughly twice that when both springs are replaced together. The written estimate you receive before work begins is the final price. Call (844) 575-1130 for an exact quote; estimates are free.
No, if the estimate was properly scoped. A legitimate company quotes a range, confirms it on site, and stops if hidden damage changes the scope. If the technician discovers a bent track or a warped panel that wasn’t visible during the initial diagnosis, they’ll tell you before doing the work, not after. The invoice that surprises a homeowner is usually a sign the estimate wasn’t detailed enough.
For a standard spring or opener repair, most Centennial jobs can be scheduled for the same day or the following. For emergency calls where the door is stuck or the house is unsecured, service is available to address the failure fast. Call (844) 575-1130 and we’ll tell you what’s available.
The Bottom Line
The DIY versus professional question isn’t about skill. It’s about physics. Springs and cables store energy that no amount of preparation makes safe to handle with the wrong tools, and DIY work on them voids manufacturer warranties that cost more than the repair. The rest of the door – sensors, lubrication, remotes, weatherstrip – is genuinely reasonable to do yourself in Centennial, and we’d rather you save the money there and spend it on the jobs that need a technician. When you do call, ask what’s in the scope, whether the price is for one spring or two, and what the warranty covers. If the answers are clear, you have a professional. If they aren’t, call us for a free second estimate at (844) 575-1130.
Written by the team at Garage Door Repair Centennial Pros.